How to Spend a Week in Radium, Britsh Columbia

How to Spend a Week in Radium, Britsh Columbia

It was September 2024. Since my relationship had ended, instead of looking forward to a romantic couples trip, I was en route to yet another summer family vacation. The beginning of September is a great time to visit because while the crowds have left the sunshine has not.

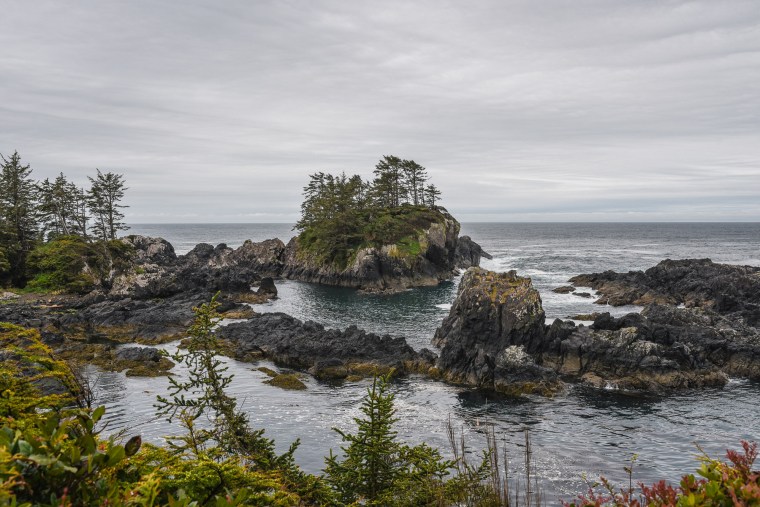
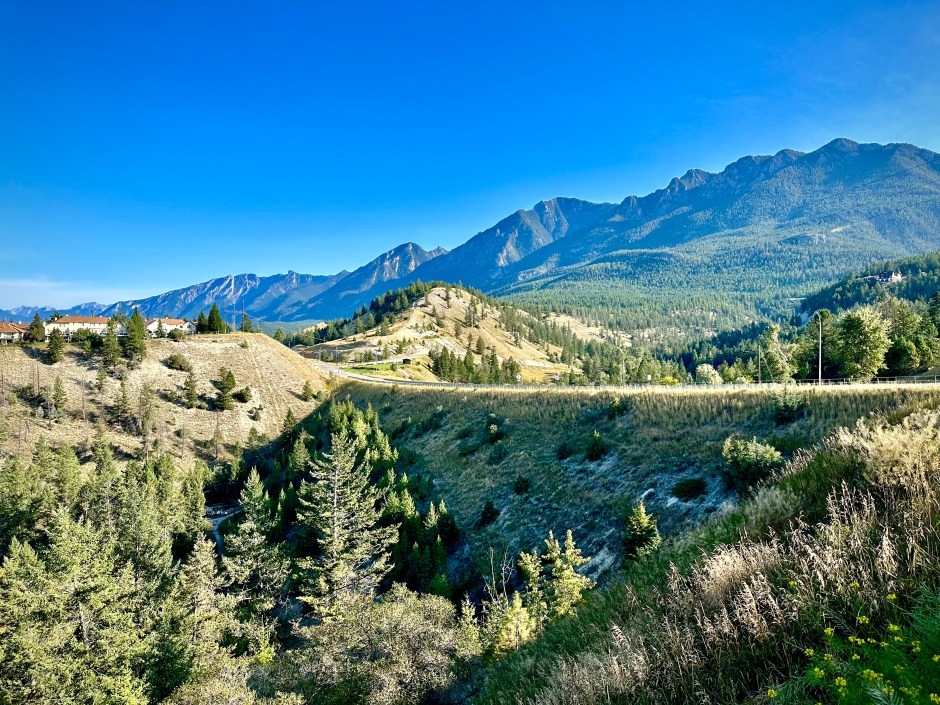
 This time were heading to Radium, BC. About a 6ish hour drive from our hometown of Edmonton, Alberta. Radium is a small, quaint mountain town with lots of activities nearby. There are lots of options for nearby hiking or water activities. You are likely to spot Bighorn sheep at some point during your trip.

Here is how our week together unfolded.

Driving in the mountains was the first part of the trip’s fun. It was a sunny day, and stretching out our legs with the mountains as the backdrop was an amazing feeling.

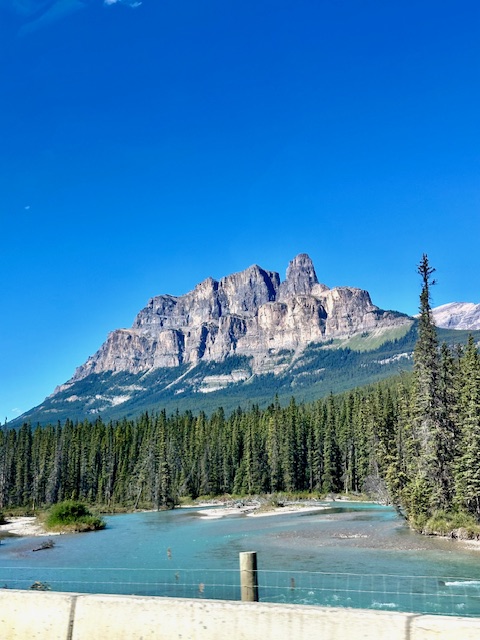
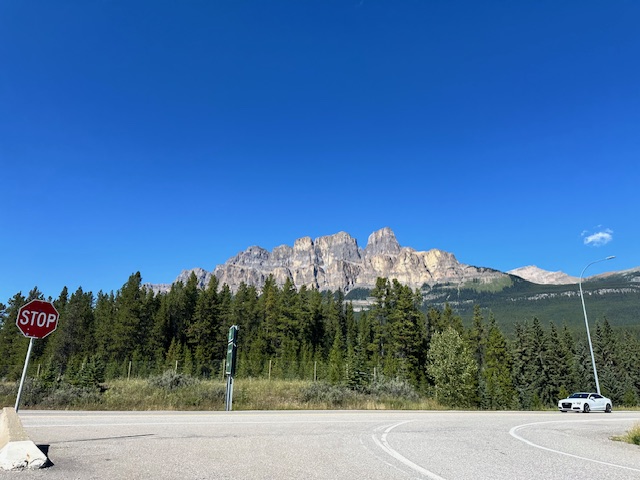
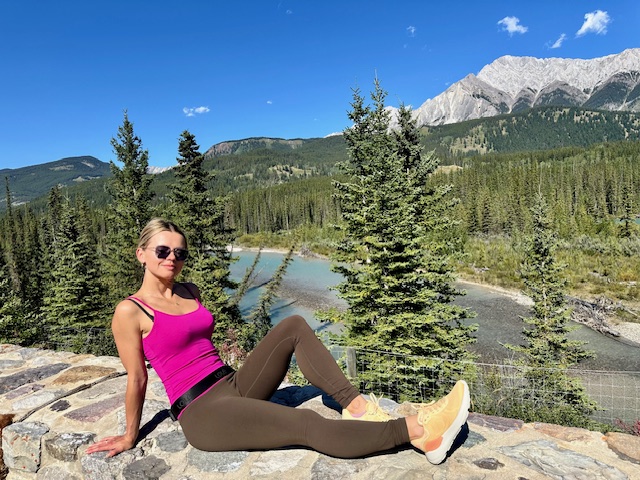
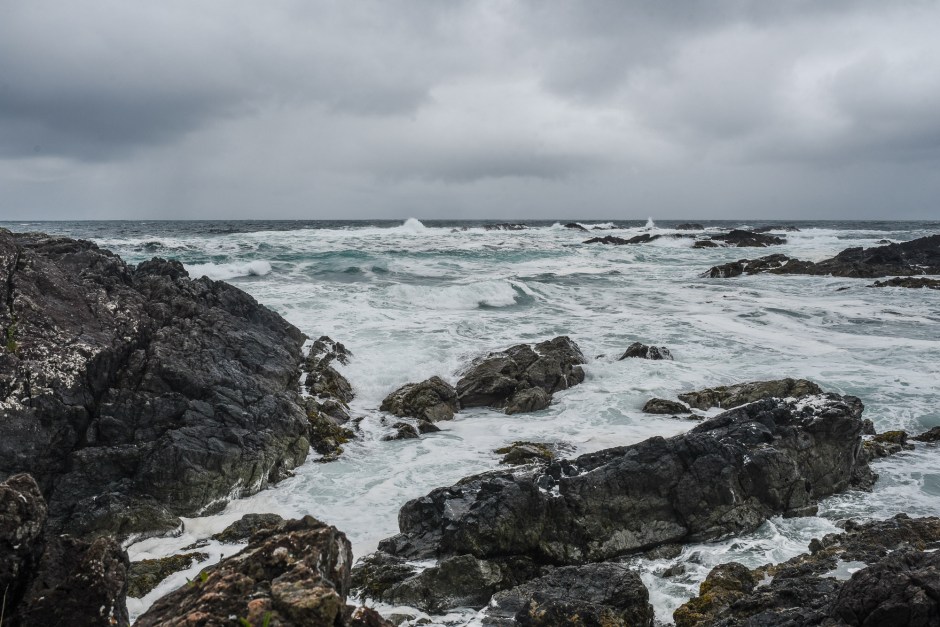
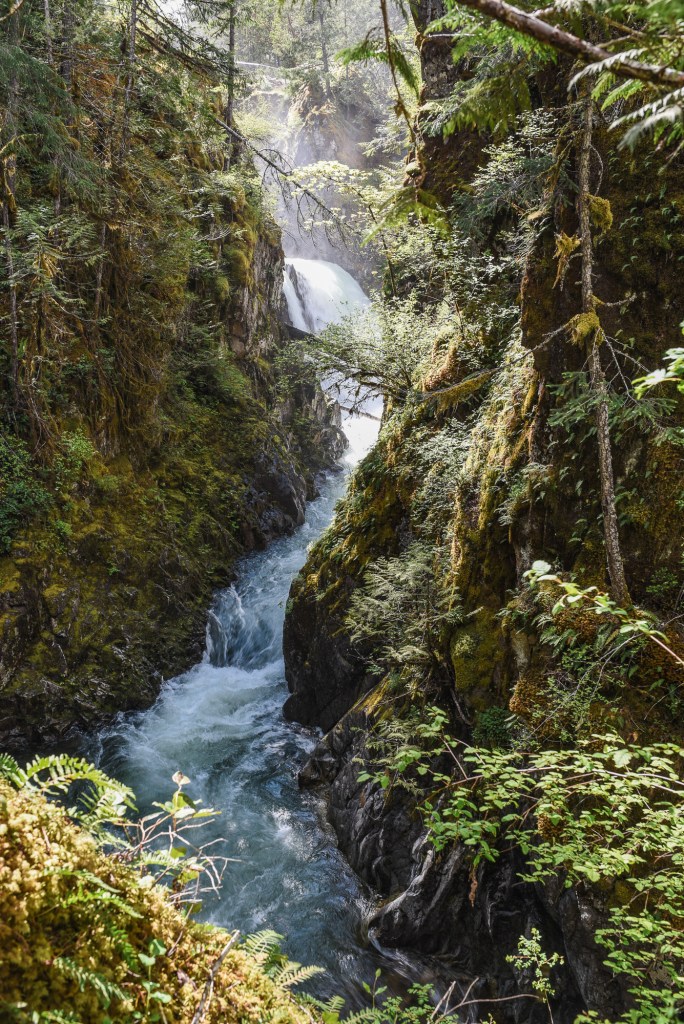
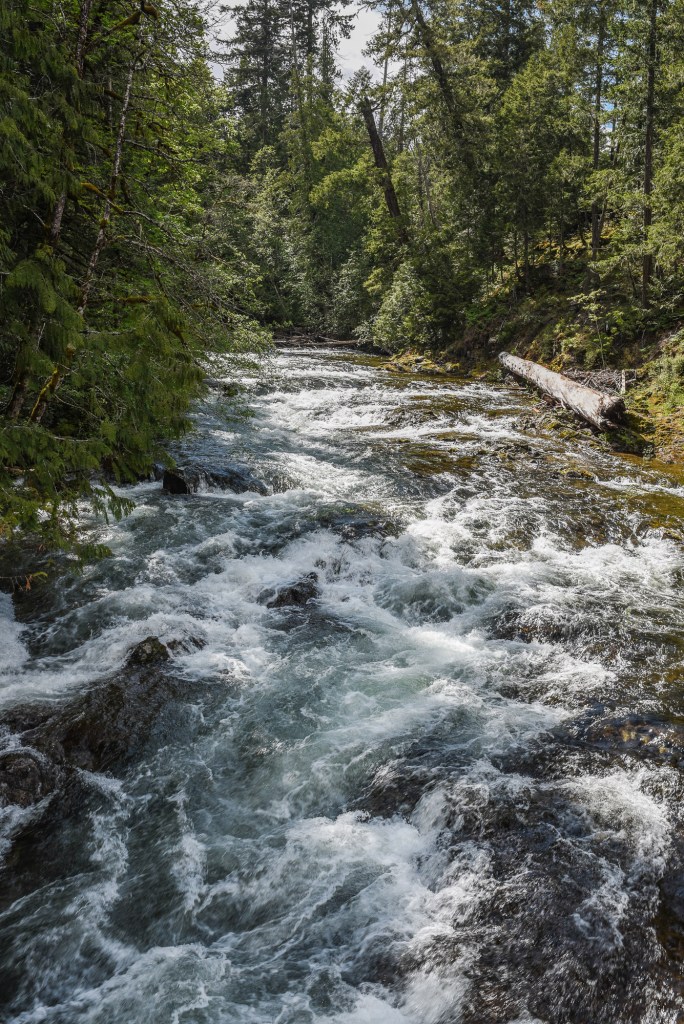
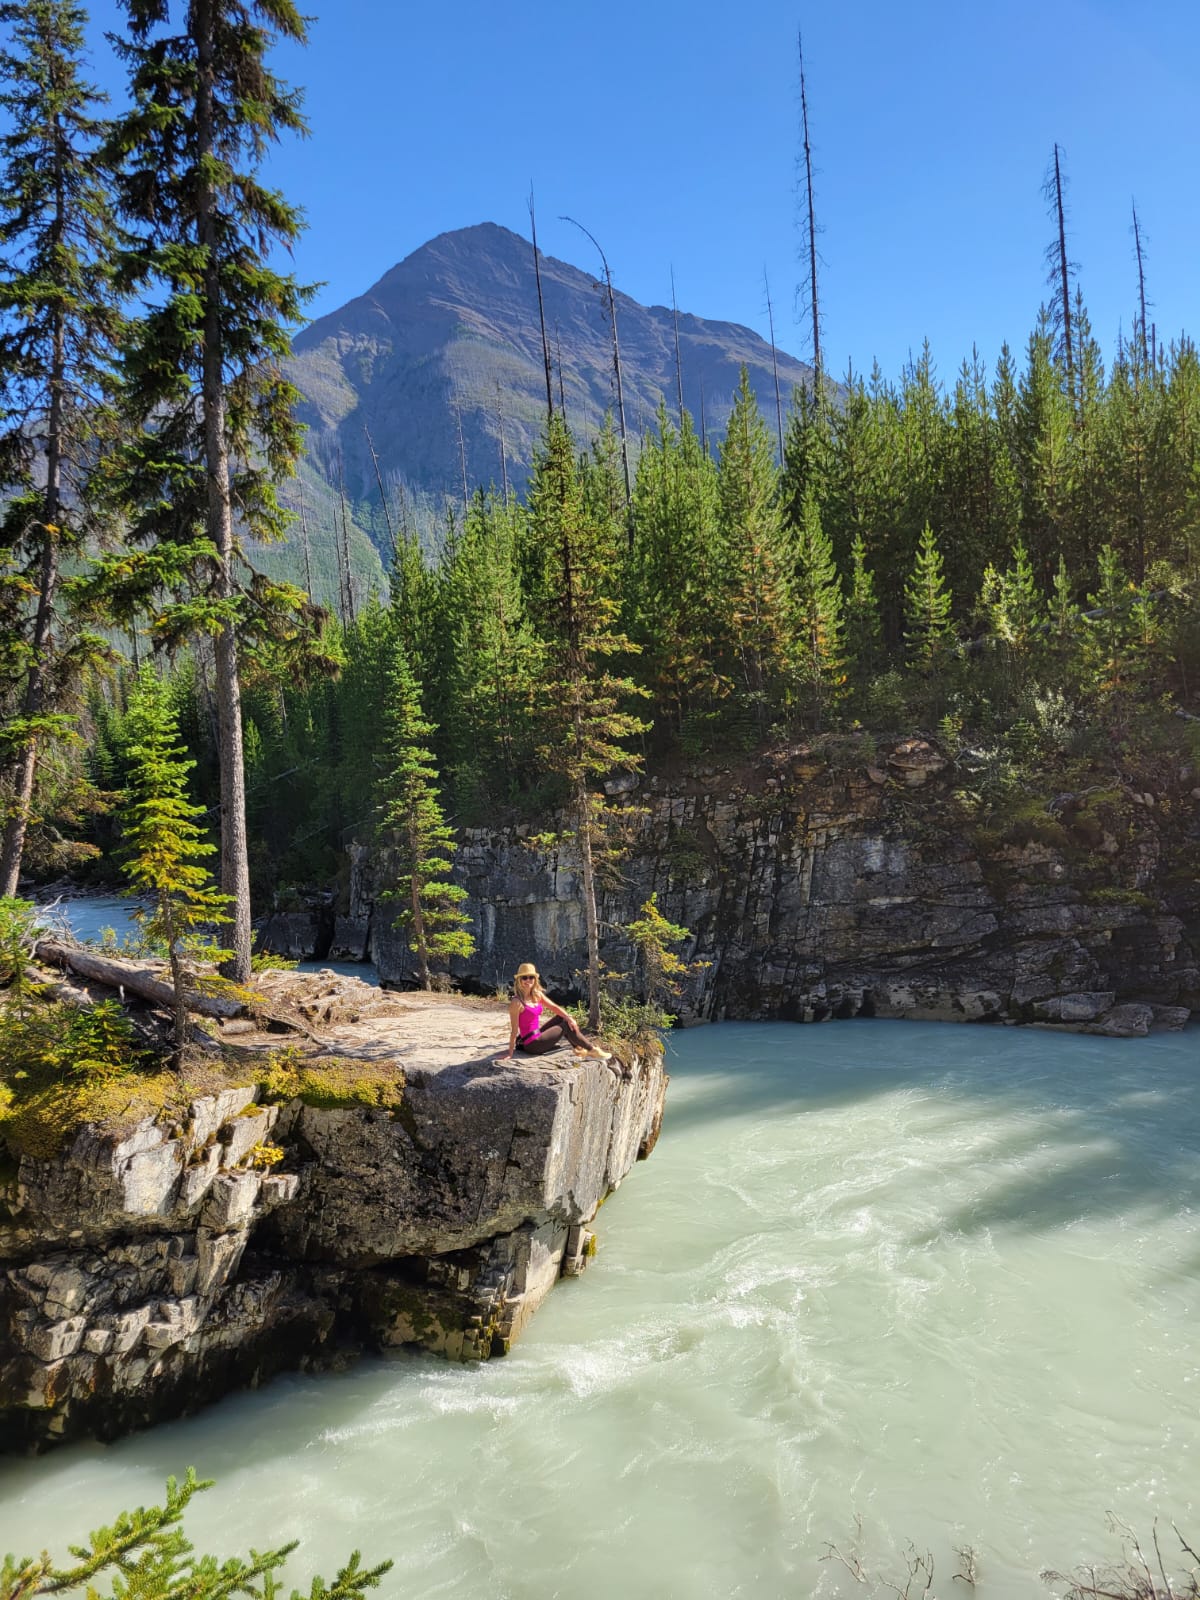
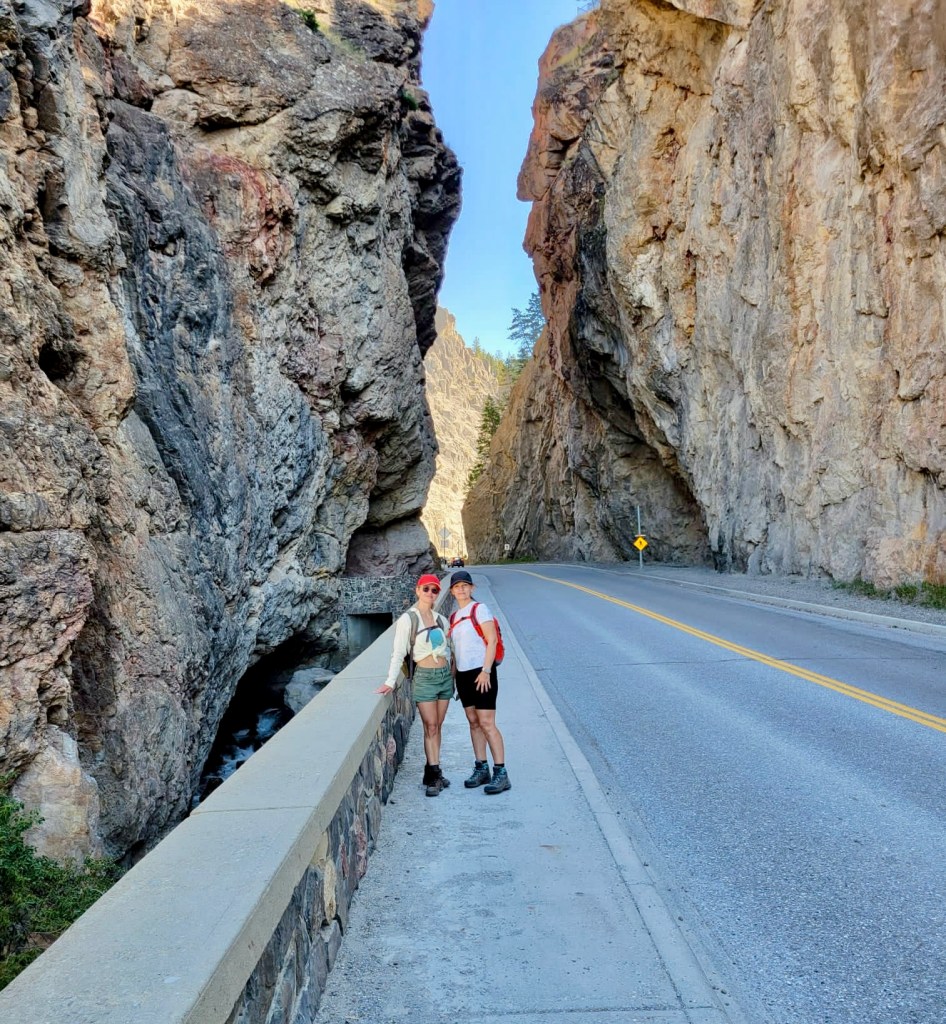
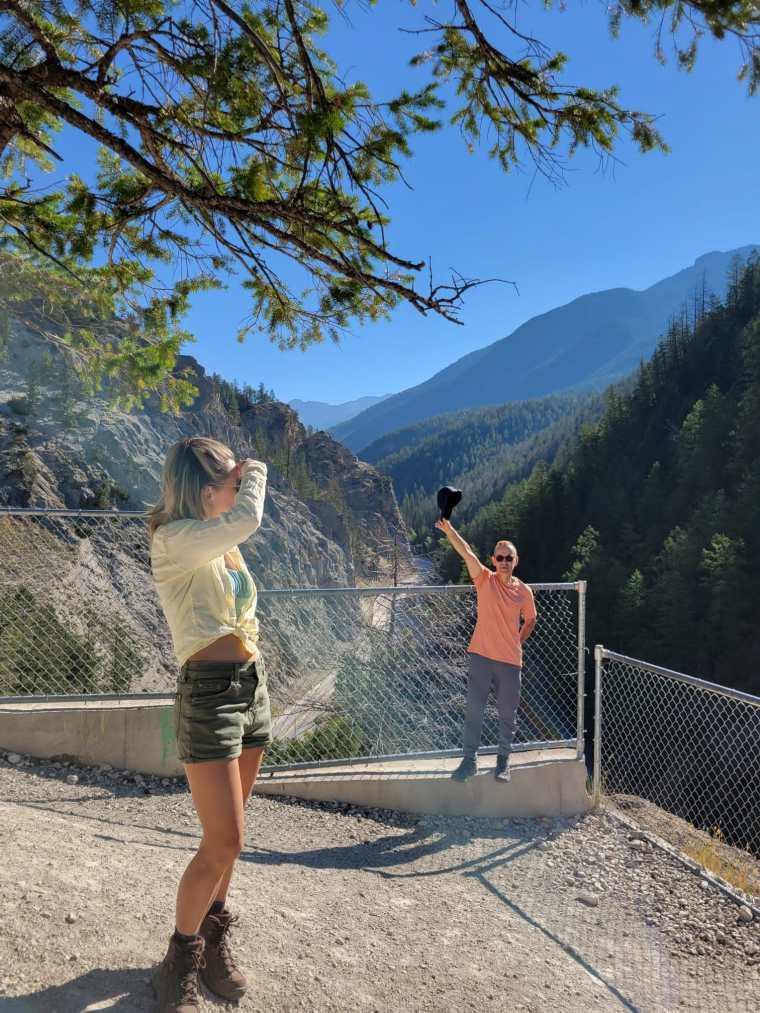
We stopped for an easy hike at Marble Canyon. This was a short easy walk where we were able to eat our lunch outside. It was super hot and we were melting so we sat near the creek to experience a bit of the cold air coming off the water. It had an incredible translucent blue-green color.

Where to Stay

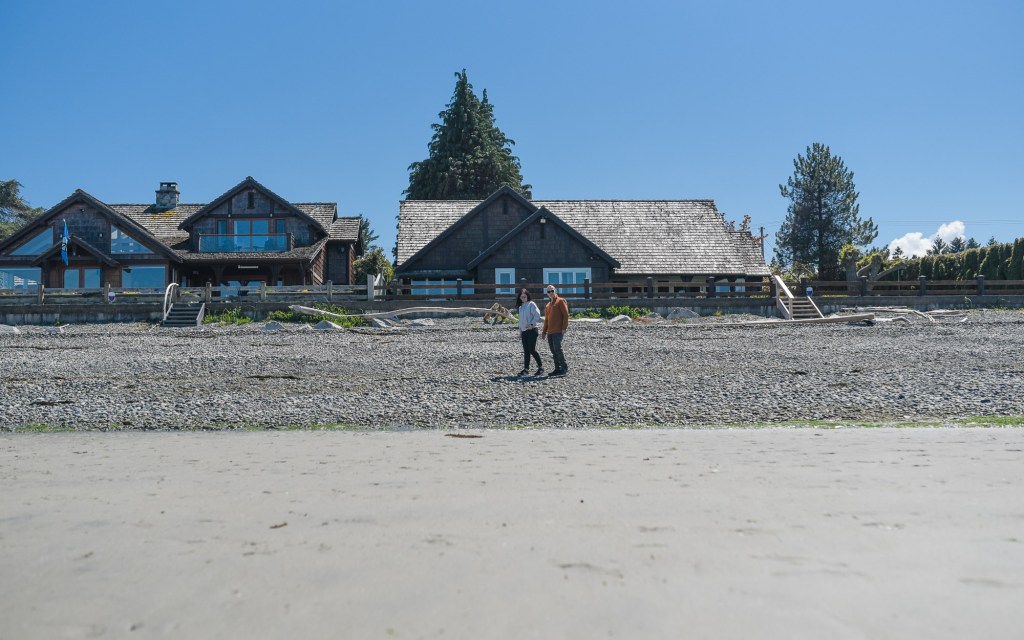
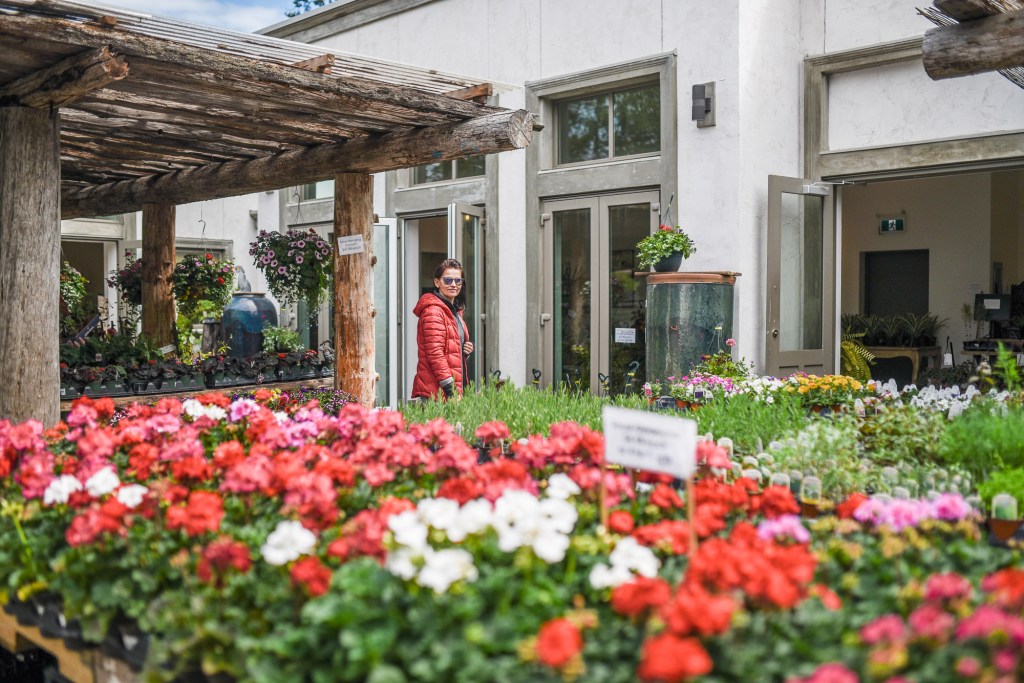
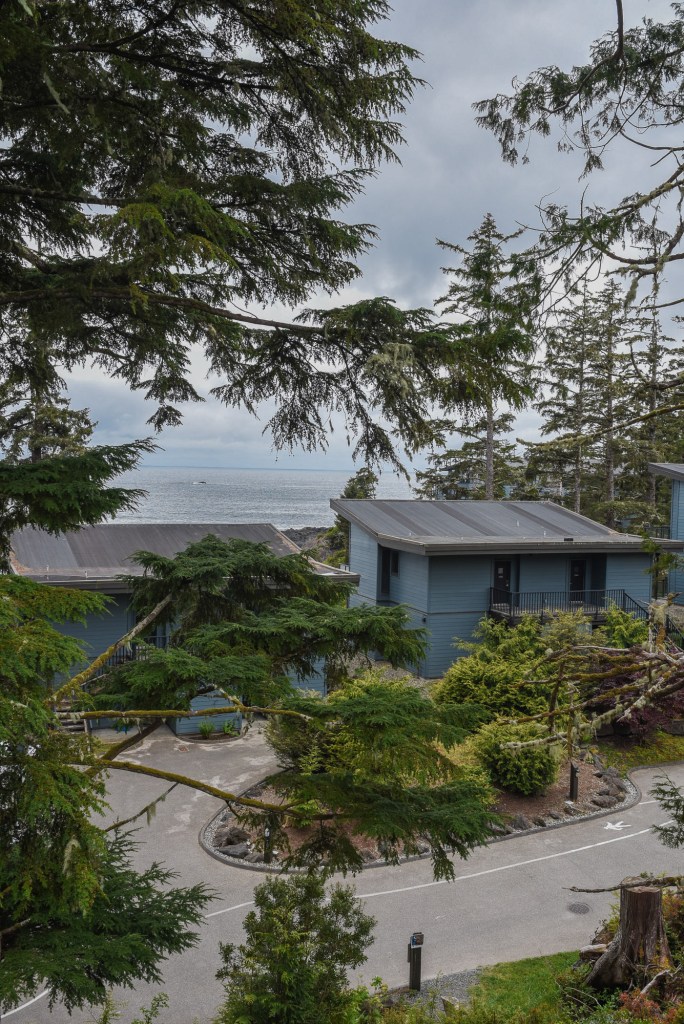
We booked a condo at the Bighorn Meadows Resort. The suite was equipped with a kitchen and a view of the golf course which was located nearby. It had a pool and two hot tubs on site which we frequently visit nightly. In the mornings we would walk ten minutes to grab groceries or coffee and pastries for the day. Once in town, the tourist center provided options for milder day hikes.

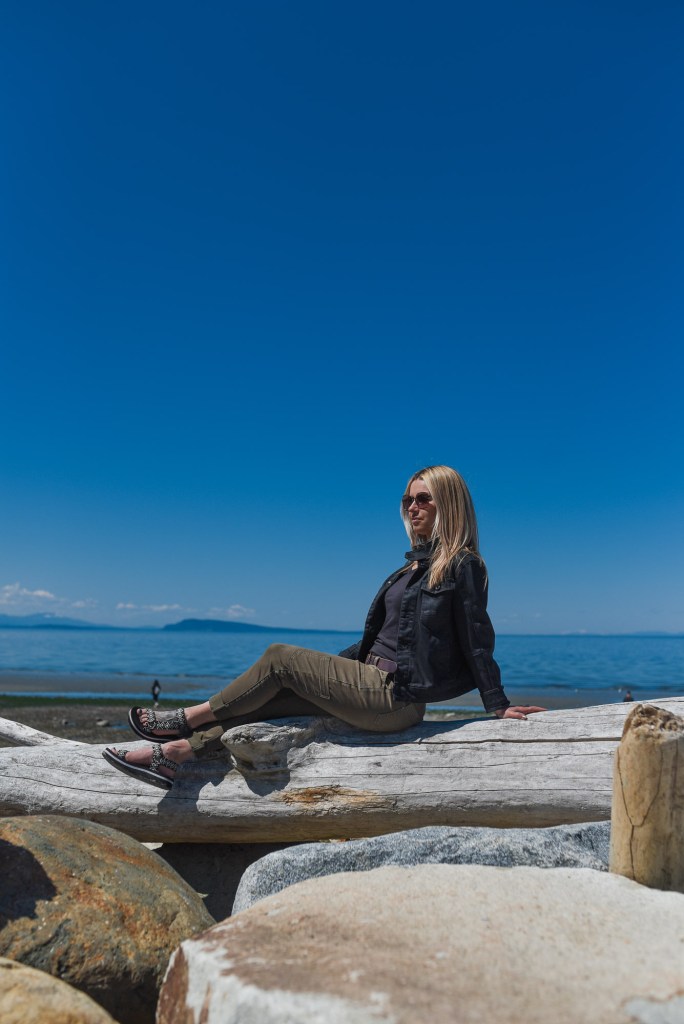
The resort contains a golf course. We aren’t into golf, but we had dinner at the clubhouse one night and the views are spectacular. Here is a picture my mom took of me next to the clubhouse.
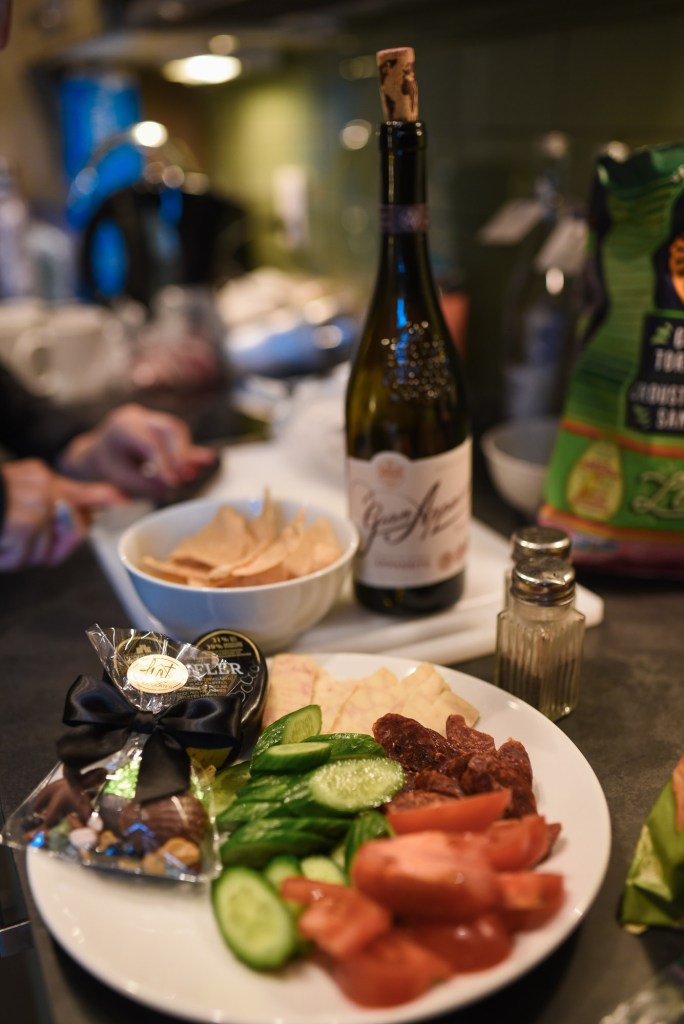
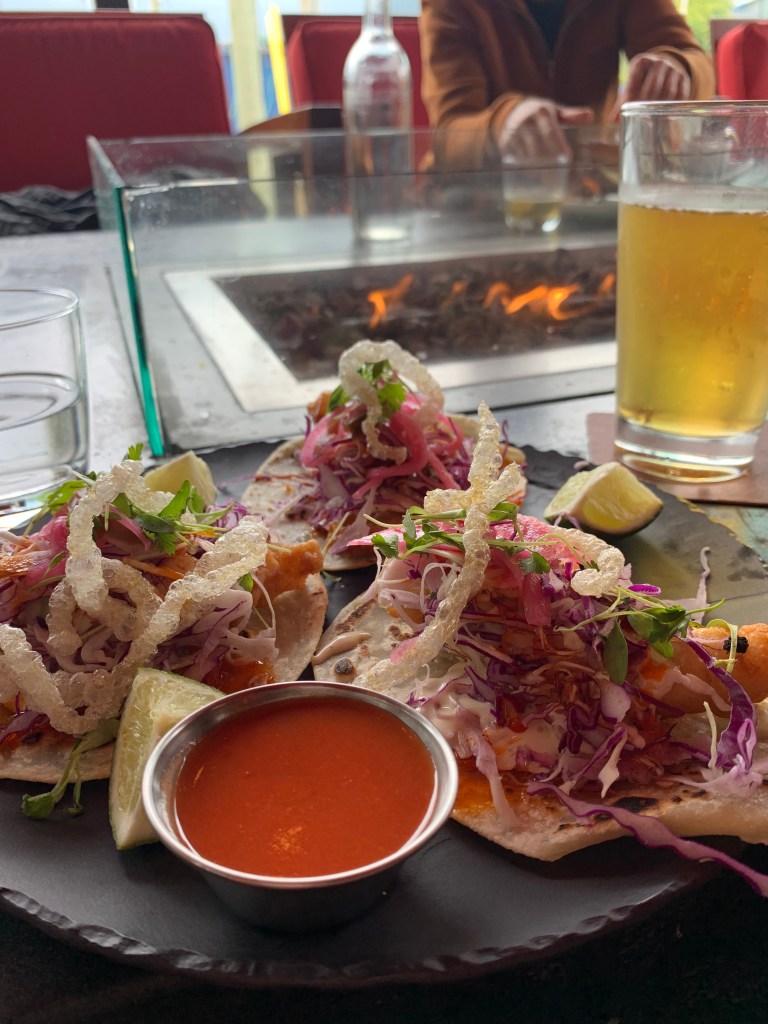
What to Eat

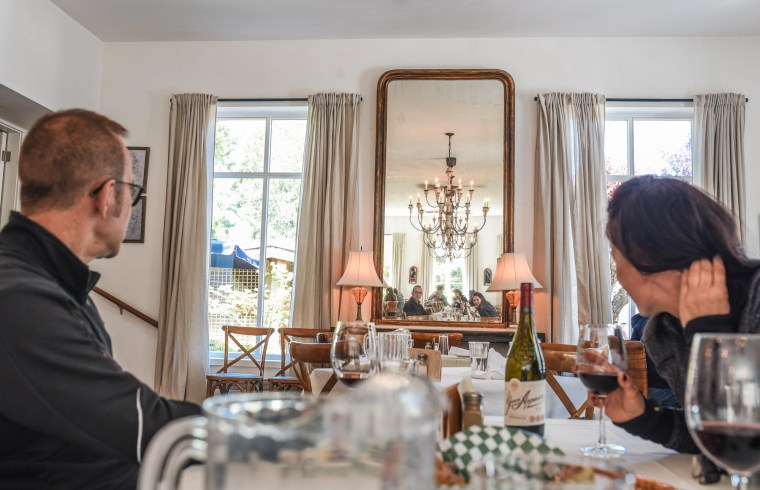
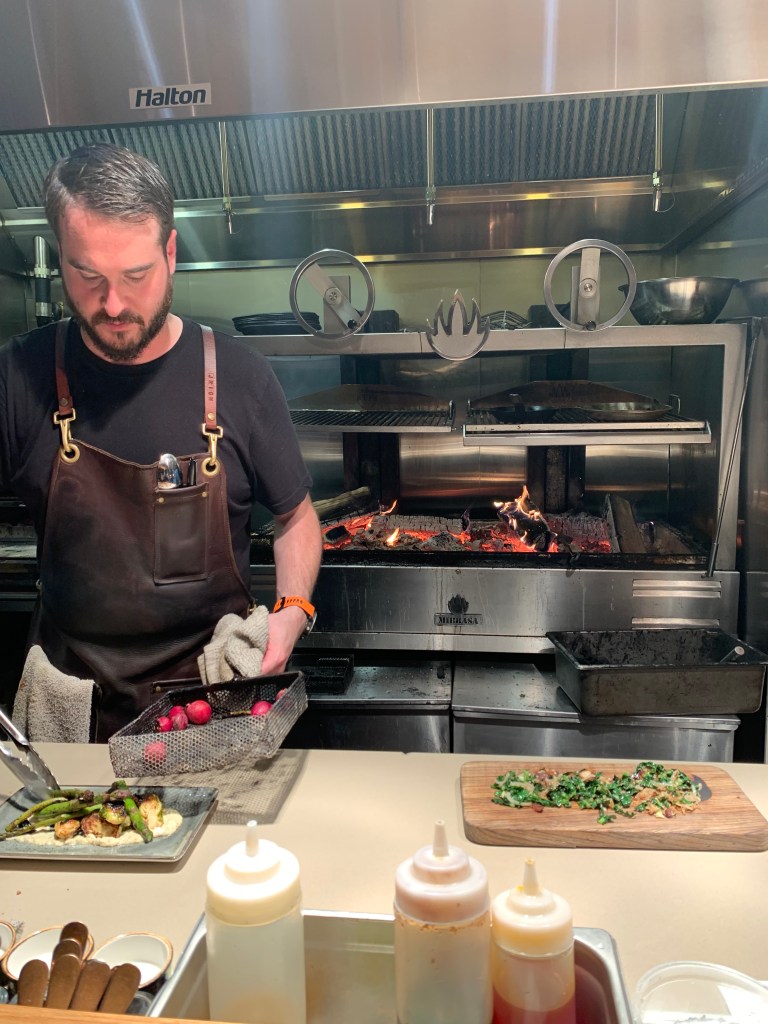
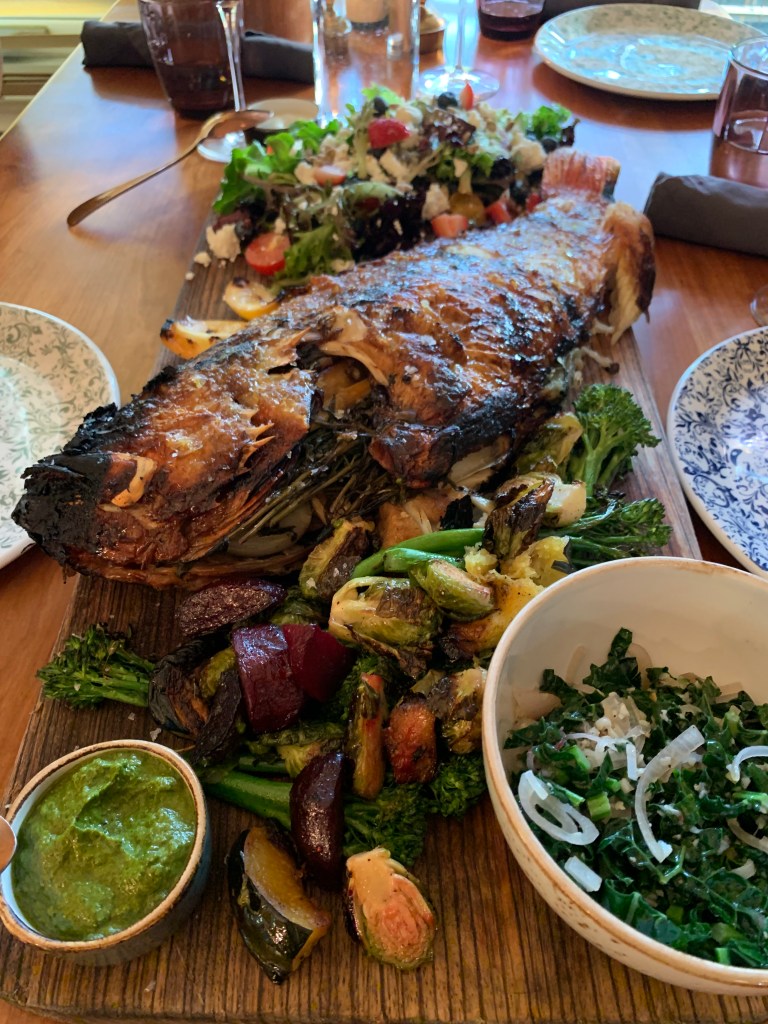
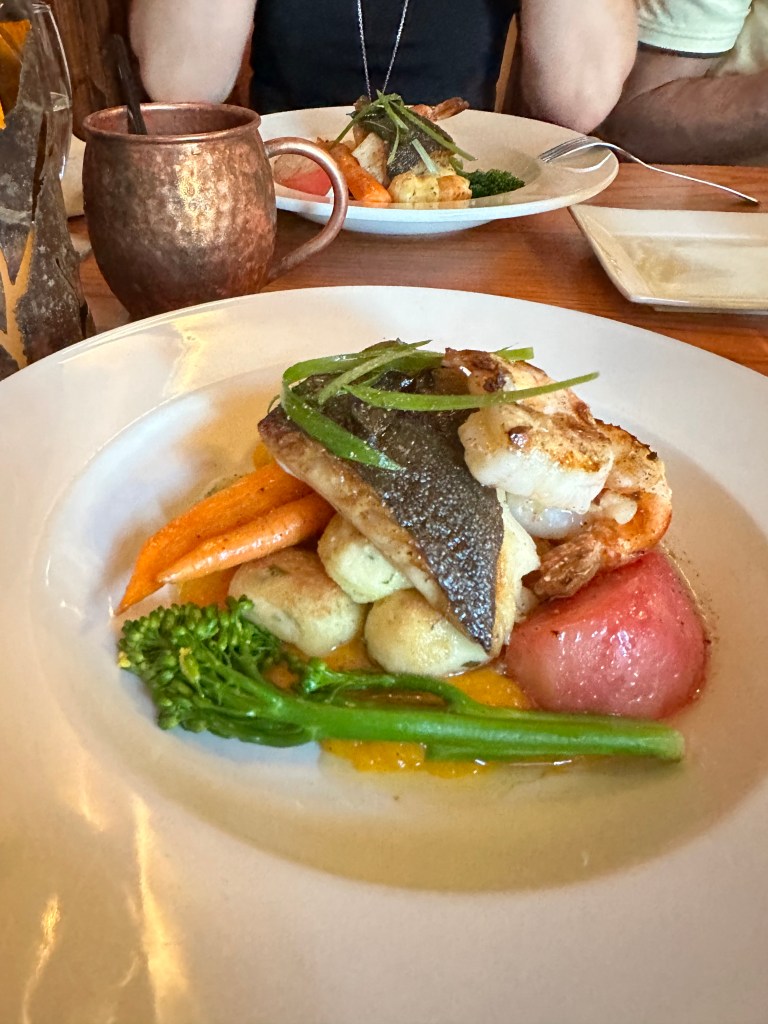
Our favorite restaurant is Birchwood Restaurant. I’d describe it as an intimate restaurant, upscale but caters to casual attire. Satisfying and fresh cuisine.

After a hot day in the sun, with plenty of cold swims, we ordered Indian takeout to bring back to the resort. We highly recommend The Spice Hut.

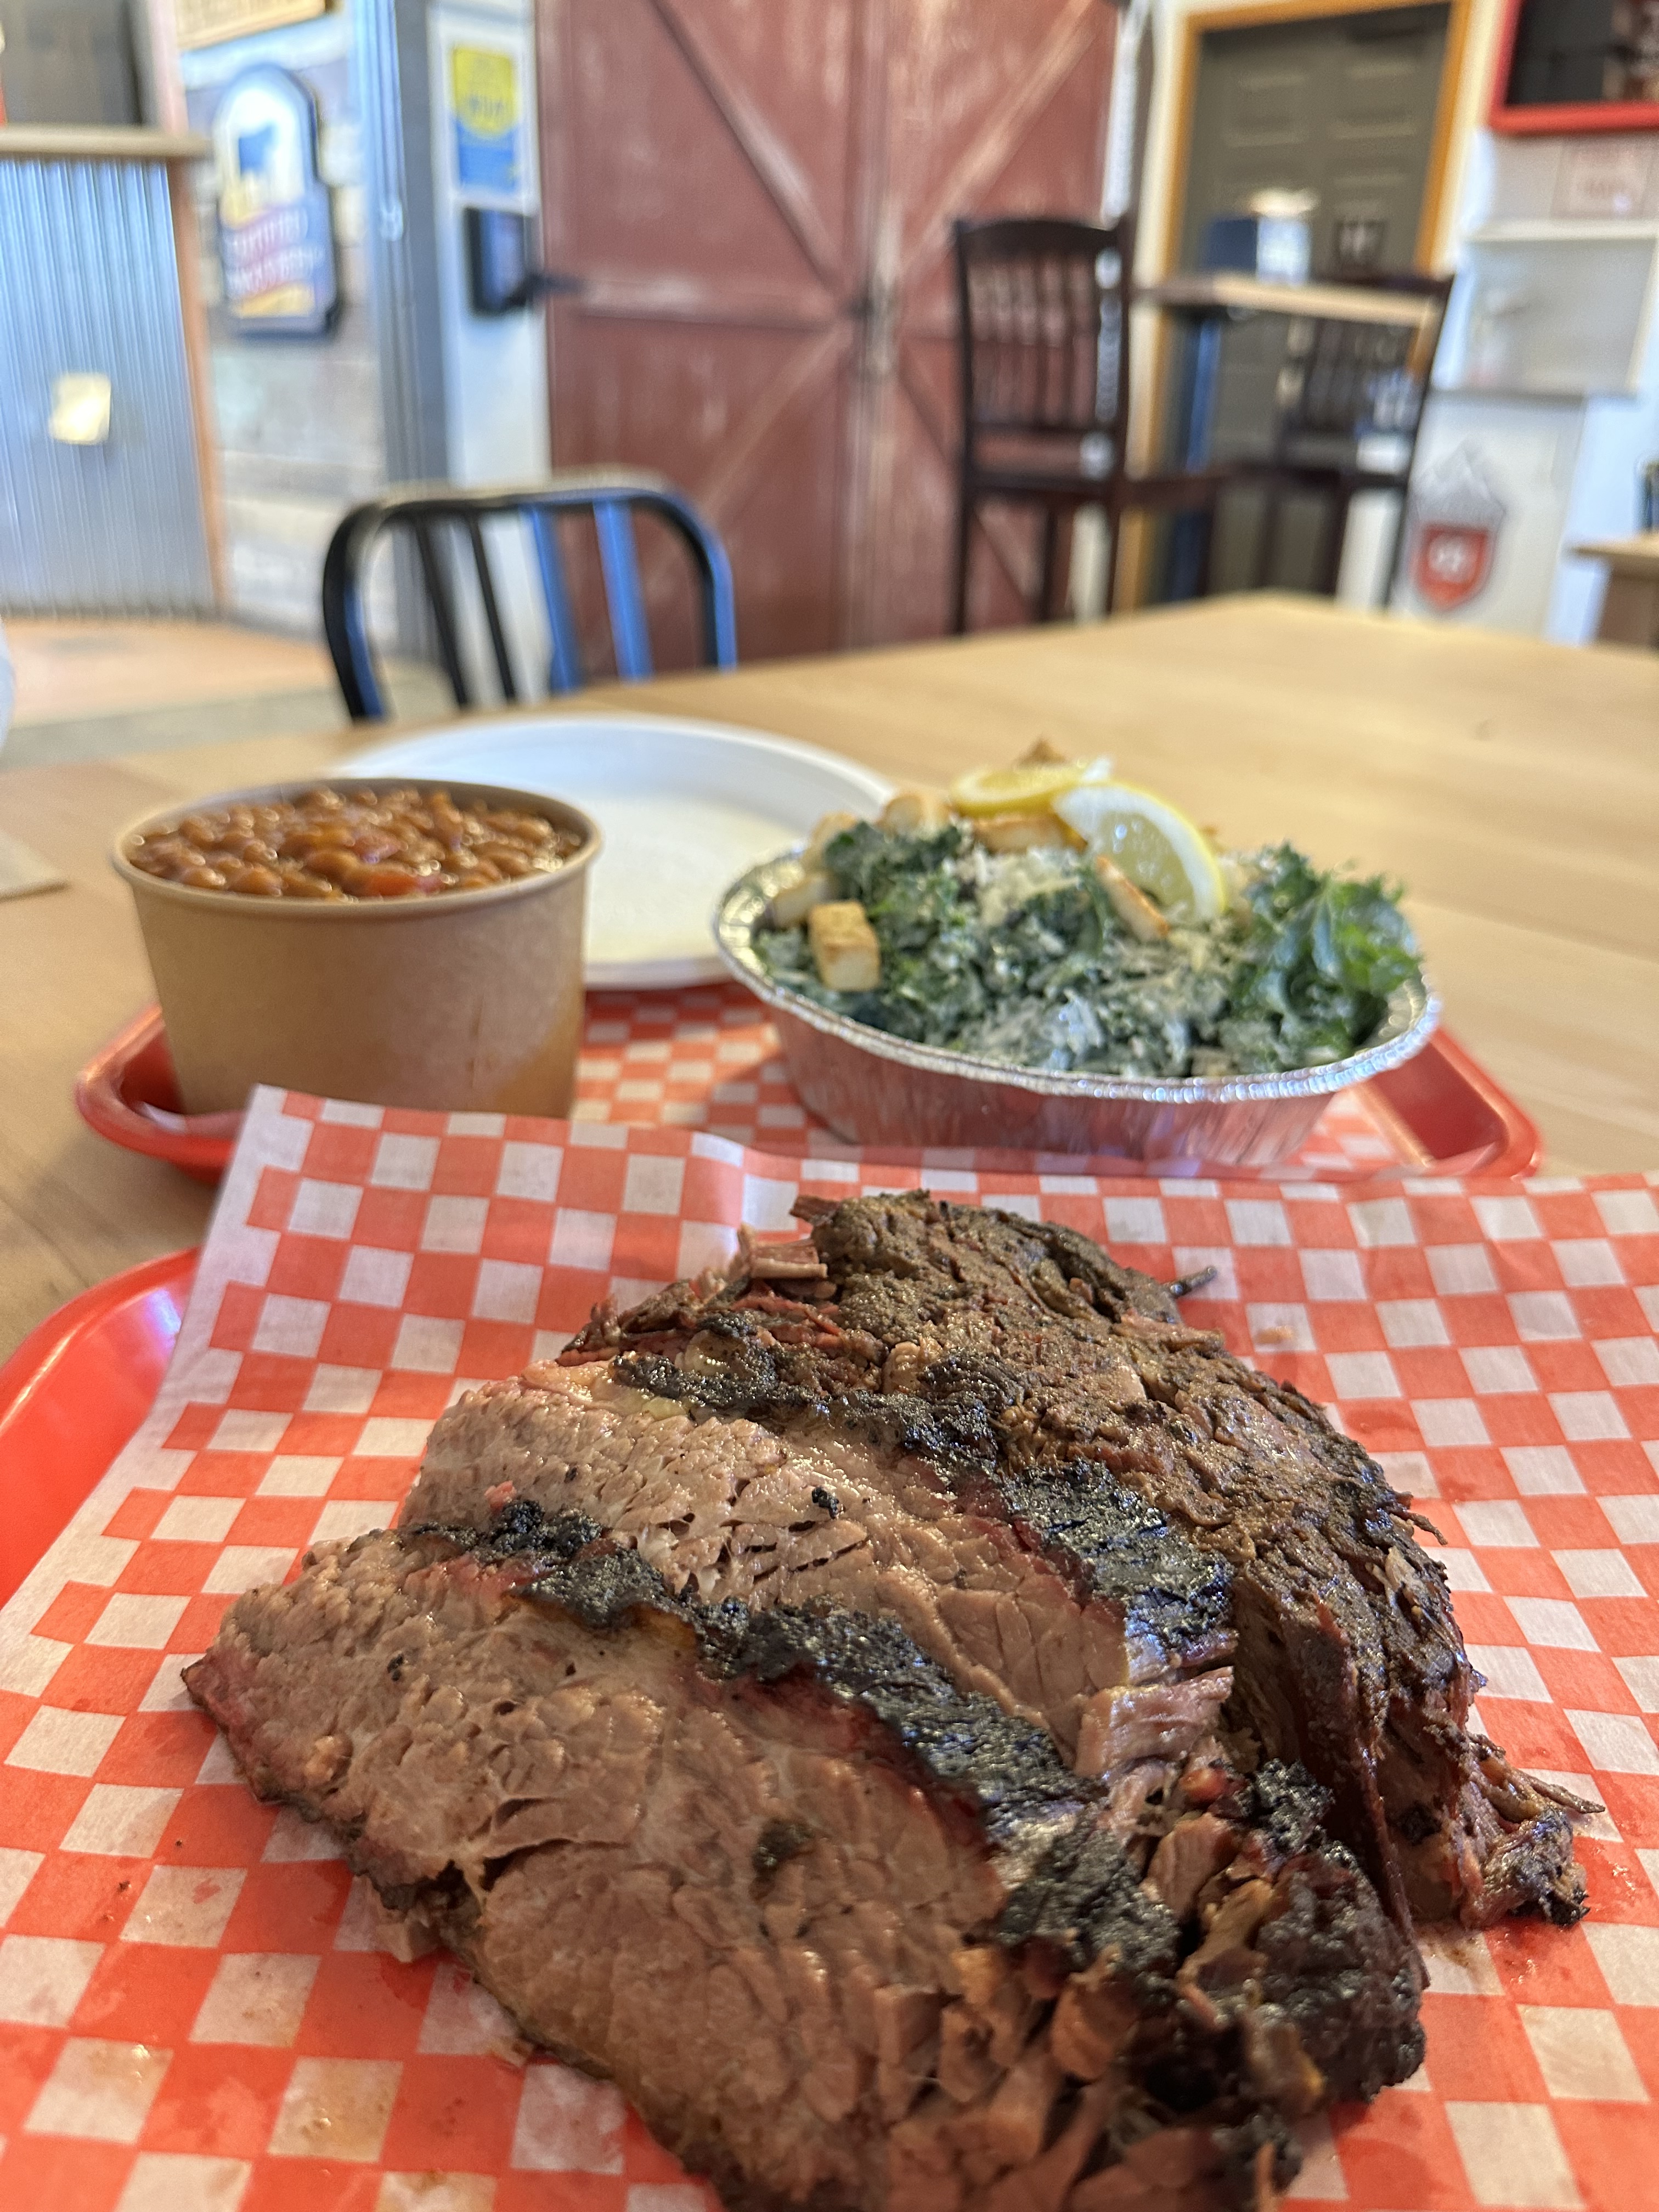
However, the ultimate foodie stop is Smokehouse 93. I can never tasted a juicer, more tender slice of brisket and we always order extra to take home for dinner on our drive home.
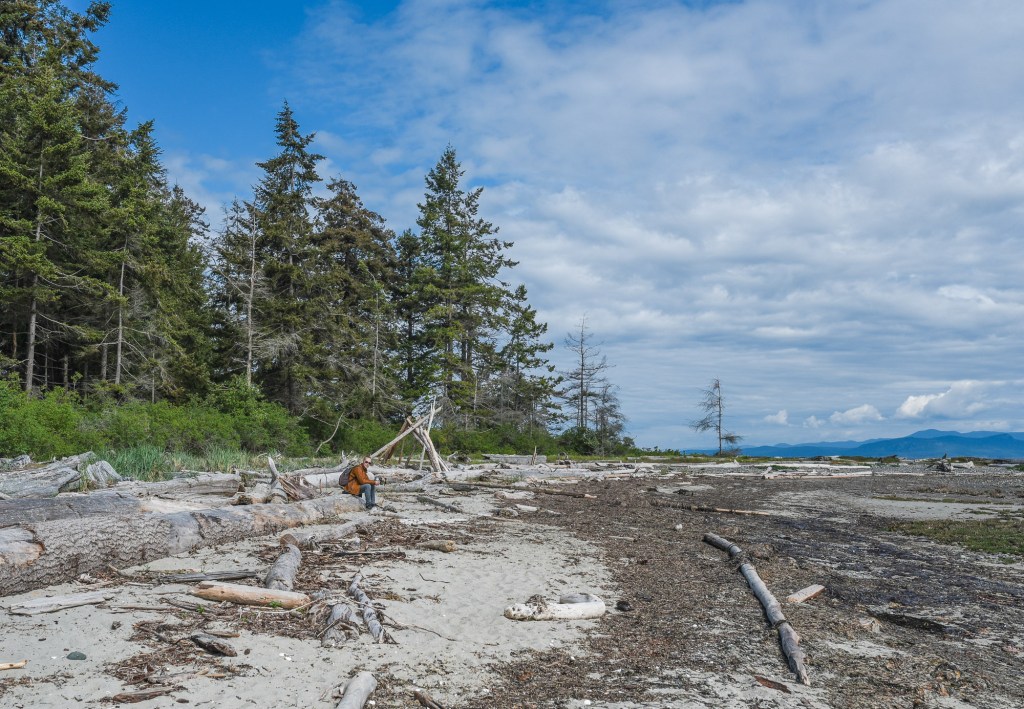
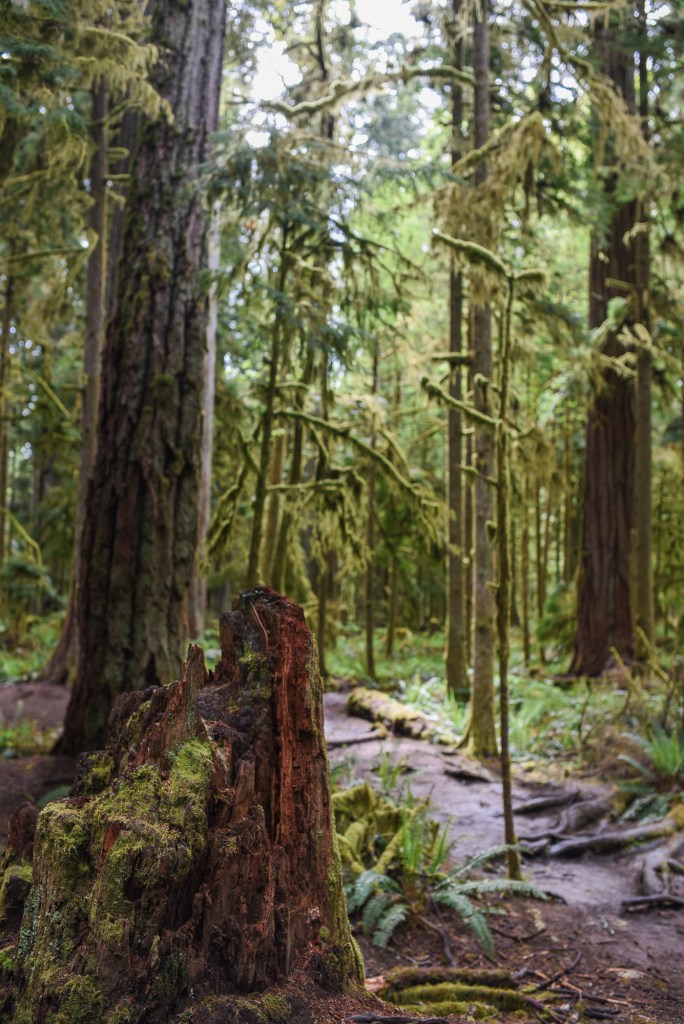
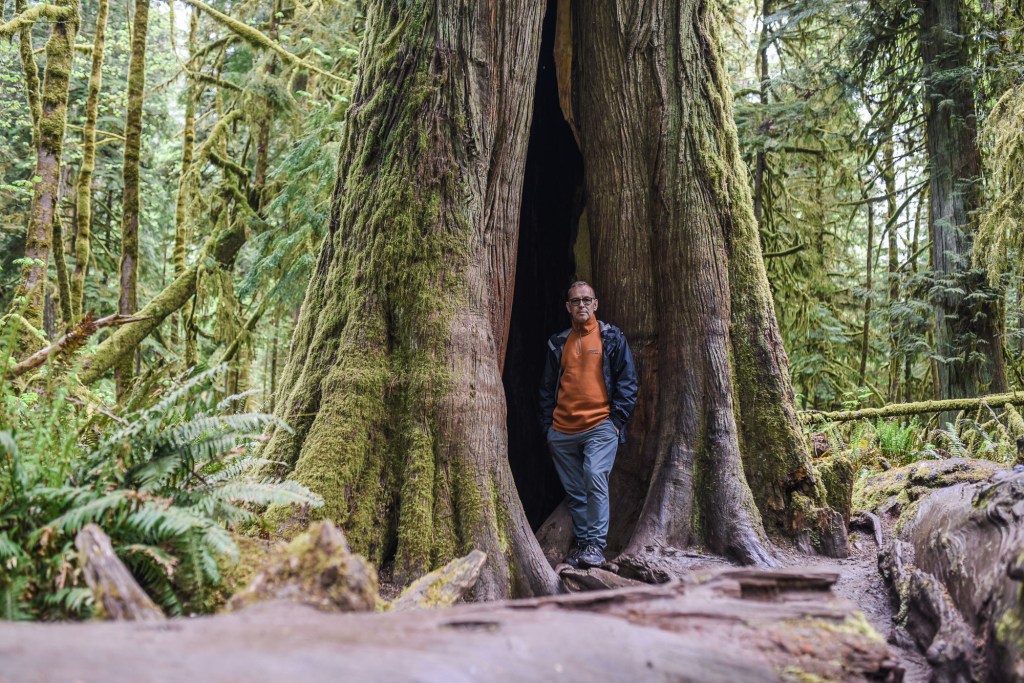
Hikes

Stanely Glacier

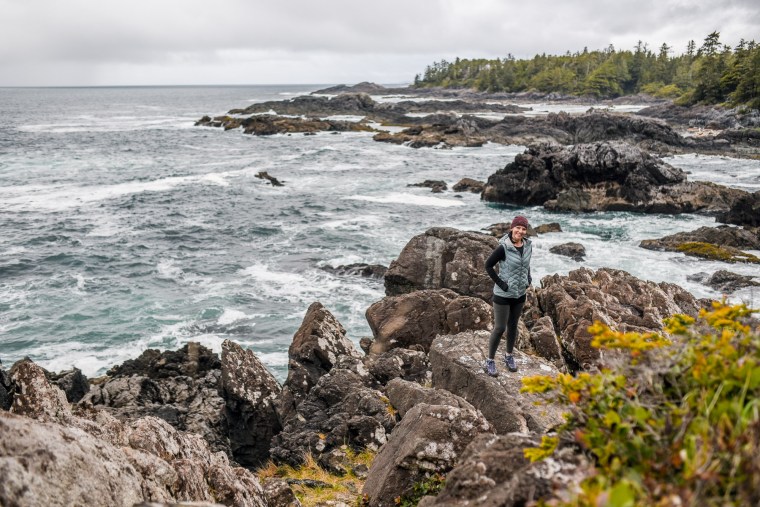
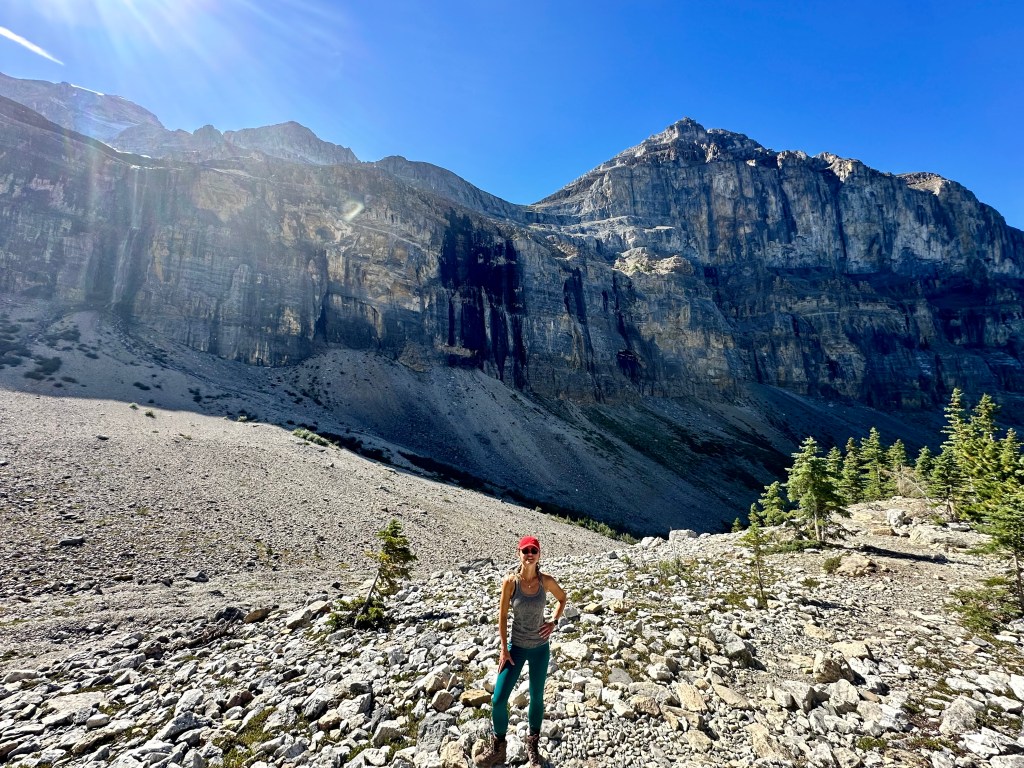
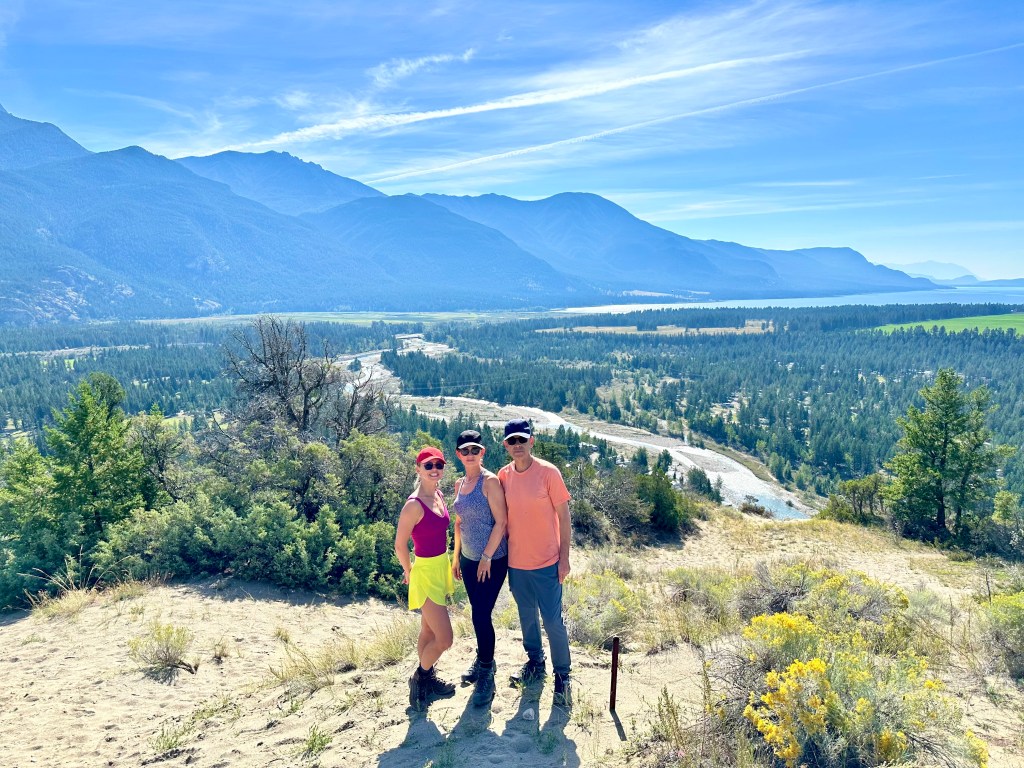
A bit of a drive (under an hour) to get to this hike from our resort but it was well worth it. I have what I’m told by others as “too much energy” and hiking is something that seems to make me feel calm and peaceful. This hike is mild and has a few locations to stop and enjoy snacks or water if someone isn’t up for the full 10 km trek. My mother was shocked at how many wild mushrooms were growing. Picking mushrooms was something that she did as a child so the nostalgia of that brought her back to those times and she was kicking herself for not having a spare bag to collect mushrooms with. I did not remember foraging for mushrooms and am someone who might poison themselves by picking and eating the wrong ones. I know. I’m not a risk taker. I was not as excited by the plentiful of mushrooms, but if you know your stuff about picking mushrooms this is a great trail to do so.
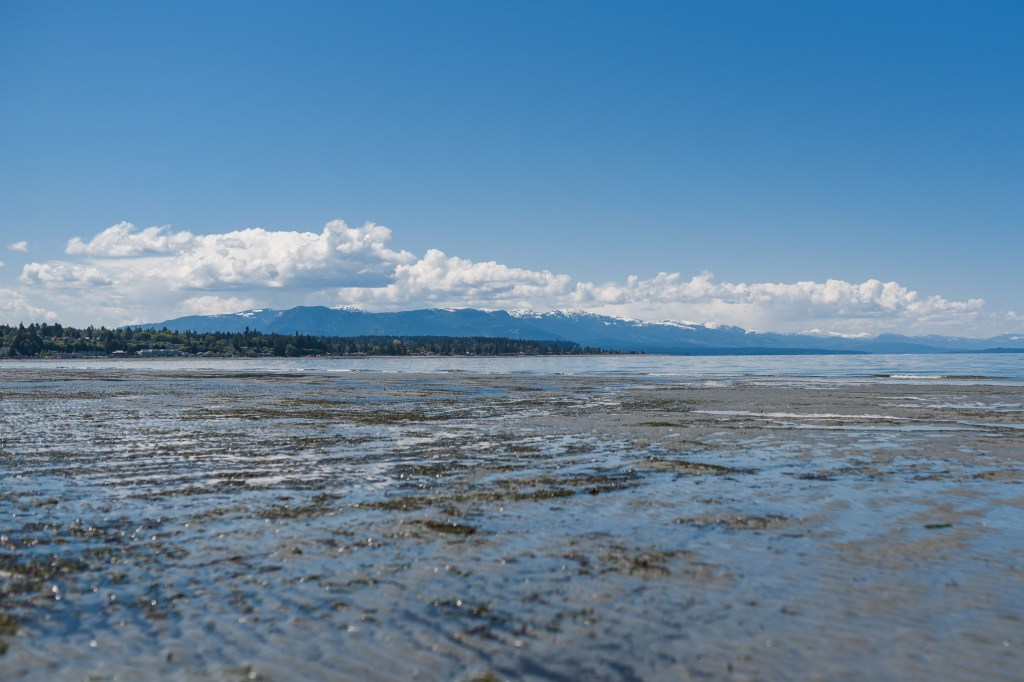
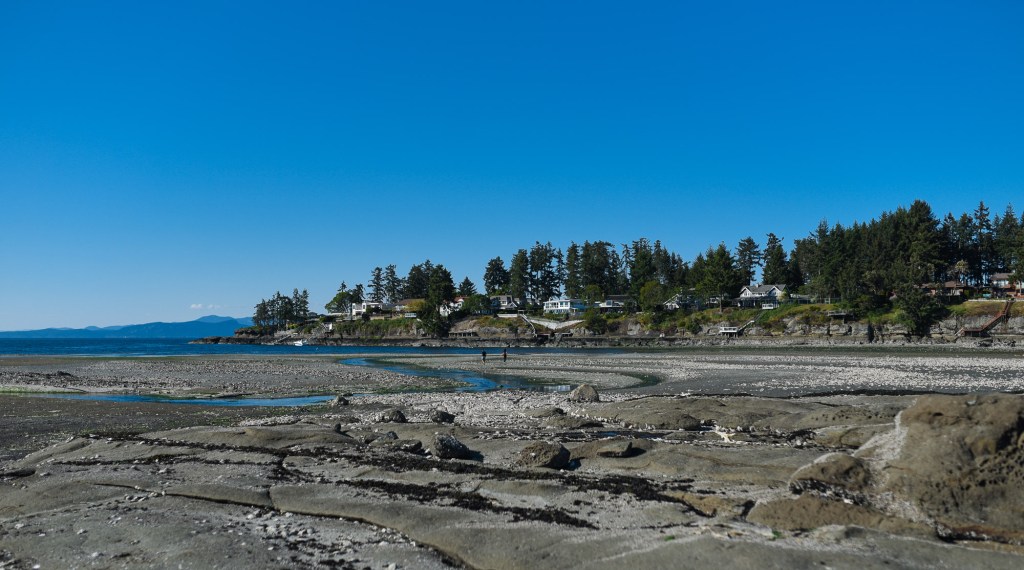
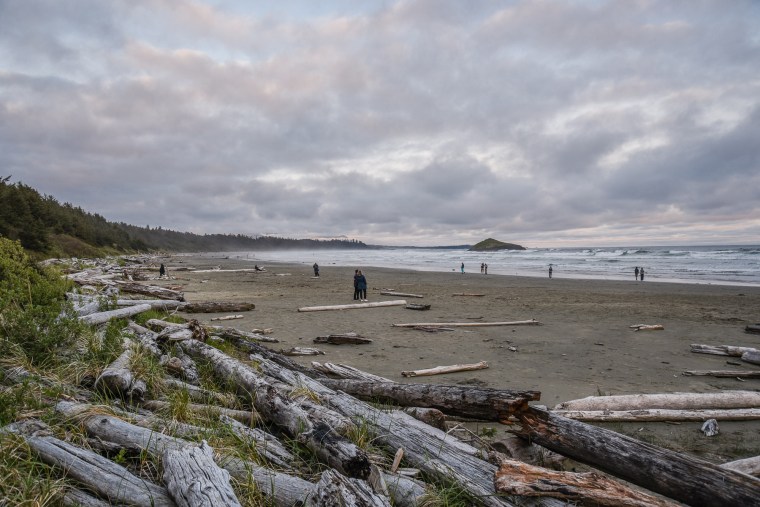
Beach Time

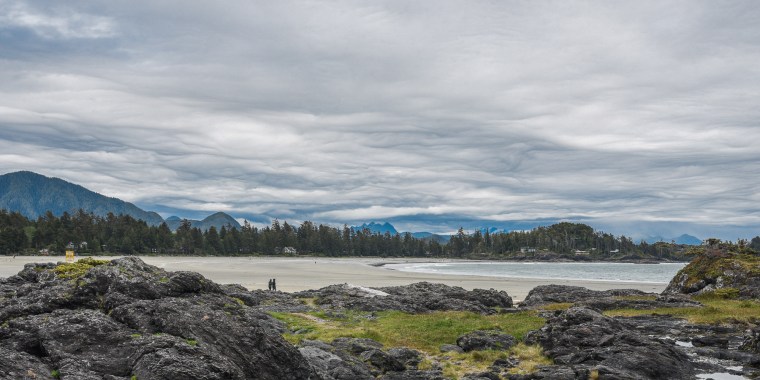
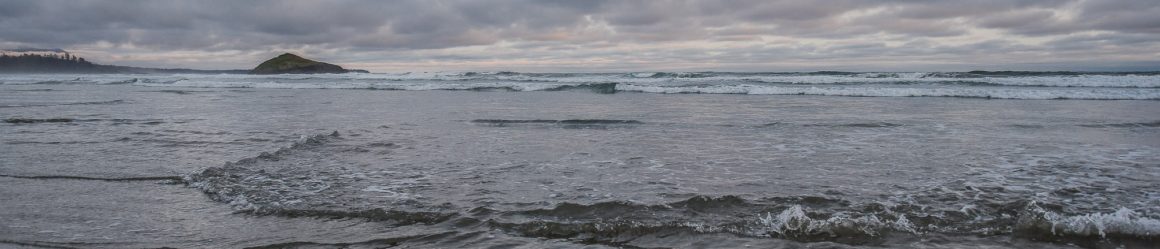
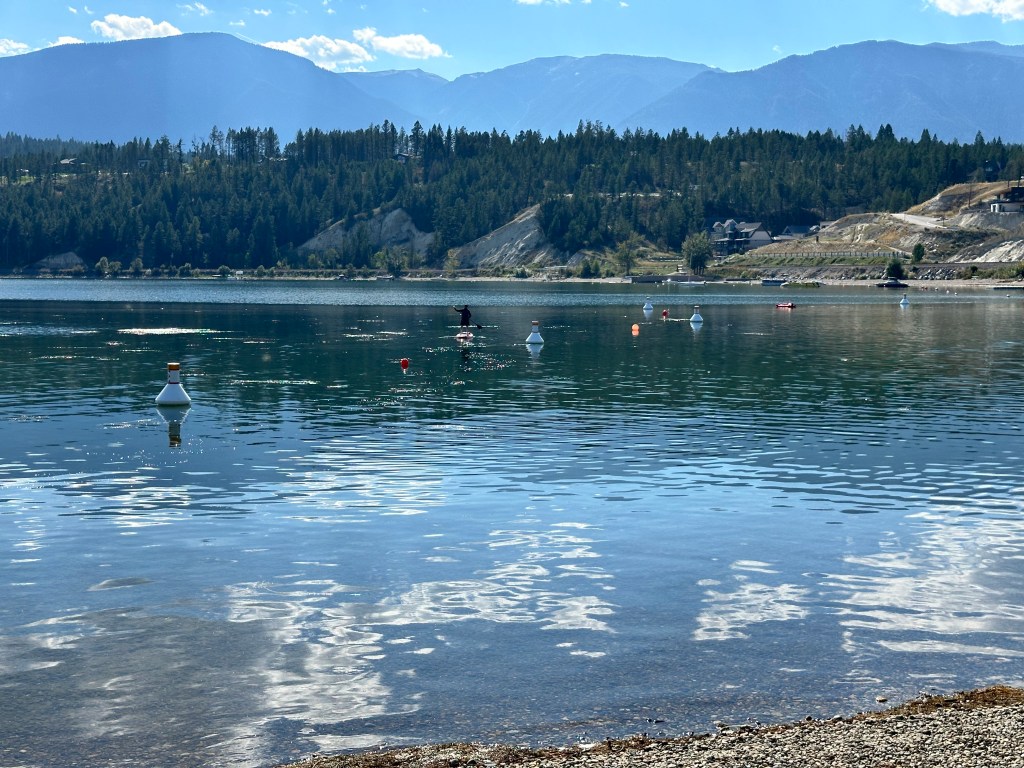
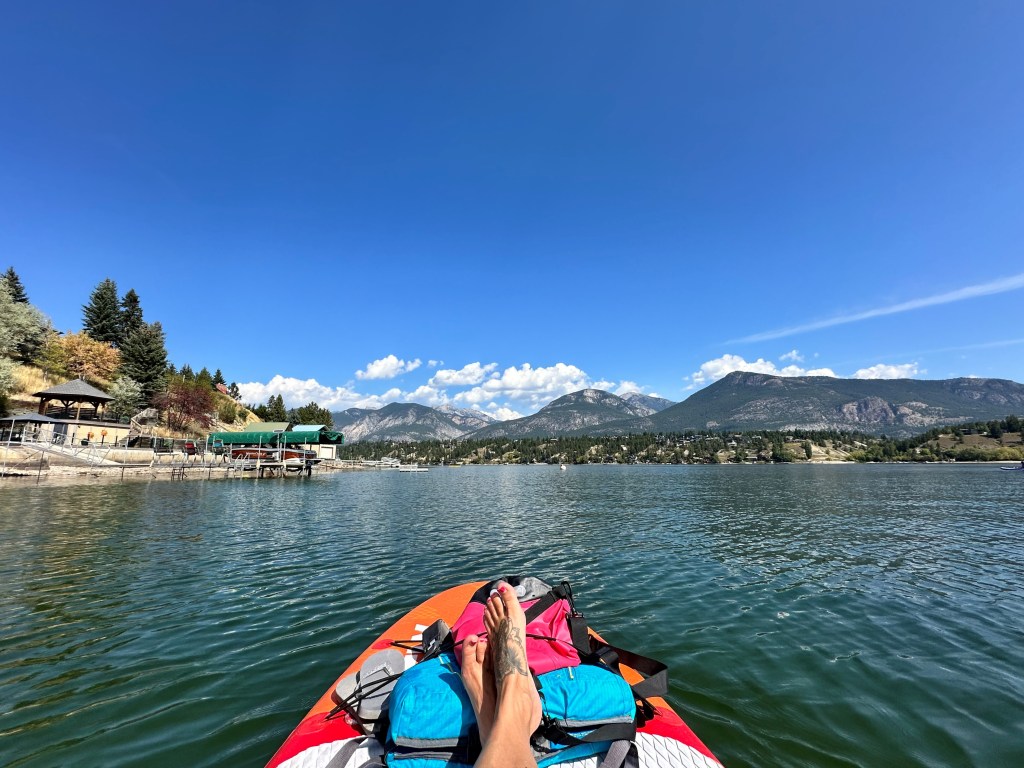
About a fifteen-minute drive from Radium, you will find the town of Invermere. Invermere is a larger city with more amenities and a refreshing clean lake, Lake Windermere. I love spending time on the lake paddle boarding and swimming while taking breaks to read or nap in the sun.

Day Trip

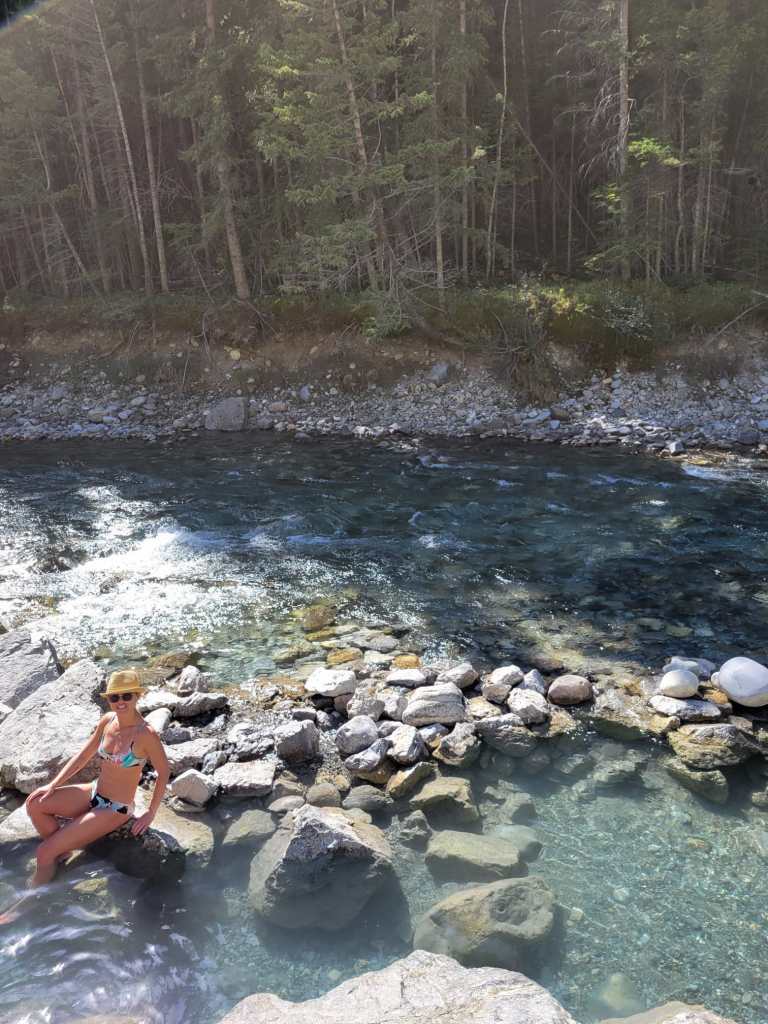
We started our day with a short hike, the Hoodoo Trail, then planned on going to a natural hot spring and relaxing near a beautiful remote lake that was tucked deep in the mountains.

Next, we ventured to WhiteSwan Lake Park, which, FYI was after a bumpy gravel road, do not recommend it unless you have a durable vehicle! This road leads you to Lussier Creek Hot which contains a natural hot spring,

The hot springs were a nice way to relax after our morning hike and we alternated between hotter and colder pools of water.

After we finished our warm dips we drove on to stop at a lake. The lake contained a small camping stop and we parked at an empty lot and brought snacks and books to the dock where we enjoyed some more R&R. The lake had almost a neon blue color and being in such a remote area felt luxurious.

Other Activities

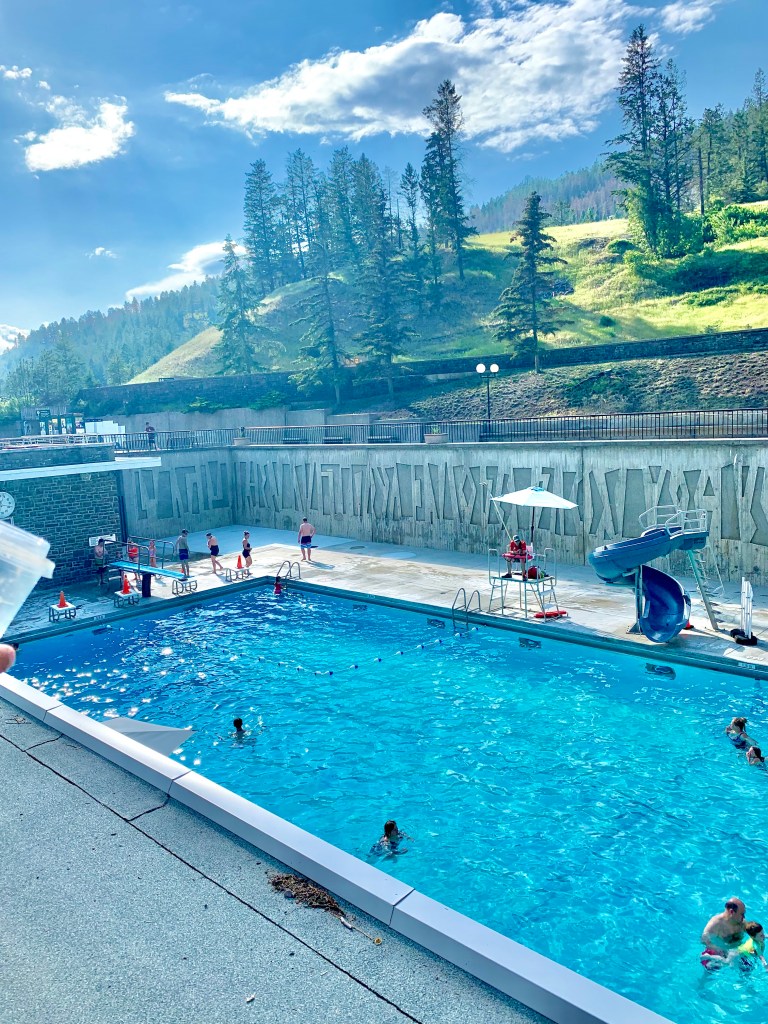
We usually go to the Radium Natural Hot Springs, but the timing didn’t work out for this trip. It was closed or we were too tired and opted for our resort pool and hot tub instead. It’s a nice place to soak and alternate in the swimming pool.

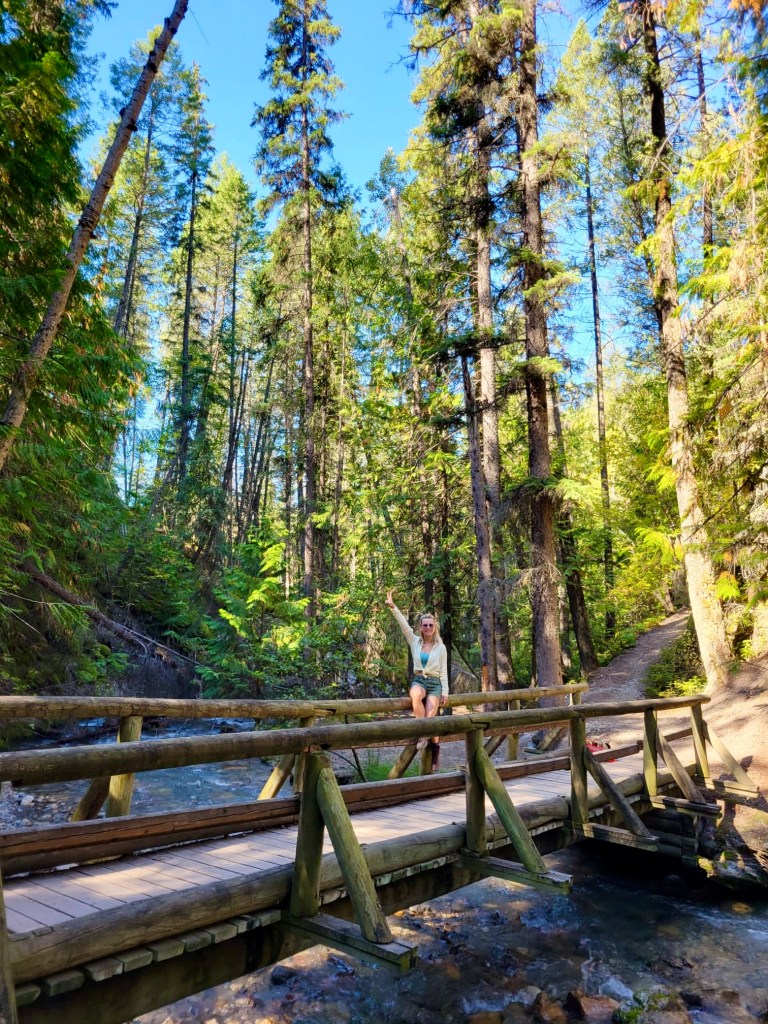
The is a hike nearby which we got somewhat lost on, then by following the sound of the creek found our way back.

Juniper Loop

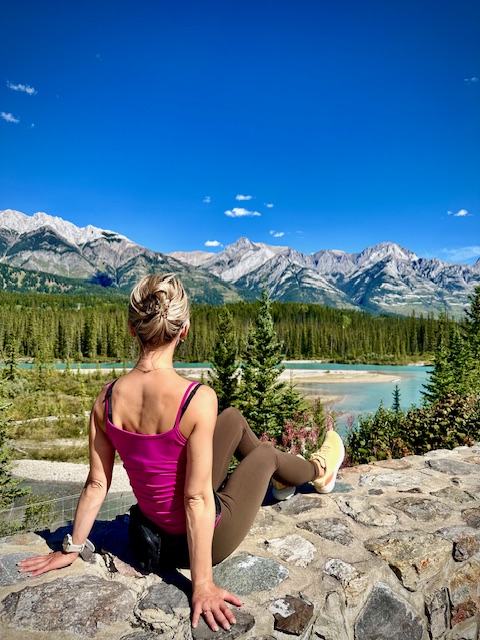
The final day of our trip consisted of a quick hike to the ink pots followed by lunch in Banff.

Blueberry Protein Scones

Baking always gives me a chance to decompress; it’s a time-out for my brain’s to-do list and instead lets me focus on the simple tasks of scooping, measuring, and mixing to the beat of chill music.

Since I love long-distance endurance training, running, biking, hiking, and cross-country skiing; therefore, I need carbs and protein to keep me going. I’m not a fan of grocery store pastries as they tend to be quite cakey or too sweet. Even good bakeries tend to overdo the sugar they use, and having a hard spike in my insulin means a crash where I’m moody and hungry. If I need the extra protein, I pair a scone with a boiled egg, and it’s an excellent base for prolonged endurance activity. I use the vanilla protein powder and the sugar substitute Monk Fruit to lower their glycemic index and make them slightly healthier. If you want the original recipe, adapted from Salley’s Baking Addiction, you can find it here.

Blueberry Protein Scones

Adapted from Salley’s Baking Addiction

Ingredients

  • 1 & ½ Cups of All Purpose Flour
  • ½ Cup of Vanilla Protein Powder
  • ½ Cup of Monk Fruit Sugar
  • ½ Teaspoon of Salt
  • 2 & ½ Teaspoons of Baking Powder
  • ½ Cup of Frozen Butter
  • ½ Cup of Cream (and a bit extra (2 tablespoons for the top, or milk)
  • 1 Large Egg
  • 1 & ½ Teaspoons of Vanilla
  • ½ Cup of Frozen Blueberries- (frozen is best; then they don’t get squished when mixing)
  • Brown Sugar to put on top (not required, but I like it)

Directions

  1. Mix flour, protein powder, salt, and baking powder in a large bowl.
  2. Take out the frozen butter and a box grater to grate it onto a cutting board.
  3. Put the butter scrapes into the flour mixture and mix, then put the bowl in the fridge to keep cold.
  4. Use a beater or whisk to combine the cream, egg, and vanilla in a smaller bowl.
  5. Bring out the large bowl and pour the wet ingredient along with the blueberries into the bowl.  Mix with a spoon, and then use your hands to squish it all into a ball. You may need more cream or flour here, depending on the texture.
  6. Once the ingredients are together, I take out a large piece of parchment paper and put the ball on a lightly floured surface. I used a rolling pin and my hand to flatten it into a disc. At this point, I usually wrap the disc in the paper with saran wrap and put it into the freezer for future use. (I typically pull the frozen disc out before a weekend road trip).
  7. But if you are making them right away, store the disc in the freezer and set the oven to 400F.
  8. When the oven is near temperature, take the disc out and cut it into triangles or slices. I usually cut into smaller pieces and make 12 scones, but if you prefer, you can make 6 larger ones.
  9. Then brush the top of the scones with cream and sprinkle with brown sugar. They take about 24 minutes in my oven, but everyone’s oven is different, so check them at 22 min and leave in longer if they are larger sections.
  10. Once they have cooled, try not to eat them all at once!
  11. Store them in an open bowl or empty plate. If you seal them in a plastic bag or container, they lose the dry flakey flavor and taste cakier (unless you prefer that texture).
Blueberry Scones

The Best Vancouver Island Road Trip!

Wild Pacific Trail

After two canceled trips to Mexico, I racked my brain for places to recharge that would be adventurous and relaxing for a family vacation with my parents. However, horror stories of stranded travelers and increased costs prompted me to consider a local trip instead. Having driven to Vancouver Island from Edmonton, I knew the distance and rise in gas prices couldn’t compete with Flair’s $100 flight to the island.

While Victoria, British Columbia’s capital city, is most often sought out with direct flights or ferries and shuttles. However, I decided to take advantage of the lesser-known Comox, which offered a cheaper & less busy flight and a rental car; book one in advance; the checkout counter had a sign that said they were sold out! I spent a few days exploring Qualicum Beach, Parksville, Nanoose Bay, Coombs, Ucluelet, and Tofino. It sounds like many destinations, but these are quieter, smaller towns with most people found content on a beach with a picnic.

Qualicum Beach

Qualicum Beach

We chose the longer ocean route to get to our hotel and stopped to have lunch on the beach. My mother packed us an entire lunch of sandwiches and fruit, which I swore we would have to throw away at security, but we were able to keep to our luck! This town has a Saturday market to check out if you fly on this day, but we were eager to check in to our resort and enjoy a drink in the sun.

Parksville

Rathtrevor Provincial Park

We stopped at a grocery store to pick up more snacks, smoked salmon, cheeses, and fruit. We then headed to Rathtrevor Provincial Park, a lovely park with a nice beach full of kites and picnic tables. We came here once for a walk and then the following day for a 5km run through the park before heading for lunch.

Rathtrevor Beach

Nanoose Bay

View from the Pacific Shores Resort

We stayed at the Pacific Shores Resort, which was great. It has an indoor pool, hot tub, and sauna, which we enjoyed each night. My dad and I also borrowed ping pong paddles and played a few games to give my mother a break from us for an hour! There were the most beautiful sunsets in the evenings, and with outdoor propane firepits, it was a charming way to end the evening. Several families brought smore kits and roasted marshmallows with their kids. We snacked on the meat, cheese, and beer we bought in Parksville.

Sunset at the Pacific Shore Resort

Activities:

  • Rathover Park- 5km loop to run or walk
  • Nanoose Loop – 2.9Km loop that we choose to run, nice gravel trail.
  • Notch Hill Loop Trail- 5 km loop with a view of the bay and a swing!

Coombs

Coombs

A quick stop, most people come to see the goats that walk on the roof of the building; however, there is much more to discover at this stop. This pit stop was the liveliest place we found on our trip. We enjoyed a fabulous lunch at an Italian restaurant, Cuckoo. I bought some fresh doughnuts from Billy G’s doughnut shop and more snacks from the market, which was quite ample. There, were picked up heart-shaped truffle cheese, the tastiest sausages, and an apple galette. I would also recommend the cheese bread and pies if we had time and more real estate in our stomachs!

Cuckoo Restaurant

Ucluelet

Wild Pacific Trail

We stayed at the Blackrock Resort. It is a picturesque place on the ocean, with an outdoor hot tub, and is steps away from the West Pacific trail. There is also a beach where some people had made fires and cozily eaten near- something to plan for the next time we go! We opted for a room with a kitchenette to cook breakfast in (eating out every day isn’t ideal for us); the room had high ceilings, a nice balcony to sit out and listen to the ocean on, and a large soaker tub. It is also dog friendly if you planning to bring a furry family member.

Wild Pacific Trail

Tofino

Long Beach

We went to Tofino to do a bear tour via boat. Unfortunately, the covered boat was not available, so we ended up with these bright red spacesuit-looking overalls in an open boat. We have several bears in Alberta, so the sightings weren’t too eventful. But my mother wearing the red get-up was priceless. If I went again, I would do a seaplane tour, as it would be cool to see the beaches from that unique vantage point. We stopped at Shelter for lunch, which had a lovely, heated patio with a fireplace and a great view.

Tofino Eats

The catch of the day, cooked over an open fire at the Zedd hotel was our best meal of the trip!

Activities:

  • Atelo– recommended by our guide for seaplane tours
  • Ocean Outfitters– who we chose for a Bear Tour
  • Long Beach- nice walk, lots of surfers
  • Chesterman Beach-Nice beach for walking and watching surfers
  • Wild Pacific Trail
Qualicum Falls

Road Trip Pit Stops

To break up our drive, we visited Cathedral Grove and Qualicum Falls, and they were the perfect easy hiking spots! Hope you enjoyed this post and are inspired to take your own trip to the majestic Vancouver Island!

The Route:

  • Comox via Flair – pick up Enterprise rental car
  • Stop at Qualicum beach for lunch
  • Stay: 3 nights in Nanoose Bay at the Pacific Shores Resort
  • Stay: 3 nights in Ucluelet at the Black Rock Resort
  • Stay: 1 night in Courtney- Bayview Hotel– close drive back to the airport

Valentine’s Paleo Chocolate Cake

Valentine’s day is for love, and I love chocolate! Since I have a pretty big sweet tooth I decided to make my own cake and share with those I love. Mostly my Dad, he gets a lot of love this V-day since I’m still a single lady.  Making something from scratch makes me appreciate and savor dessert more. This cake turned out fabulously was work the work!

Valentines 2018 (4 of 6)Valentines 2018 (5 of 6) 

I swiped this recipe from the ambitious kitchen

INGREDIENTS
  • 3/4 cup virgin coconut oil, melted and cooled
  • 1 3/4 cup coconut sugar
  • 4 large eggs, at room temperature
  • 1 cup Almond Breeze Unsweetened Vanilla almondmilk
  • 1 tablespoon pure vanilla extract
  • 1 tablespoon apple cider vinegar
  • 3 cups packed blanched fine almond flour
  • 3/4 cup unsweetened cocoa powder (use a high quality version)
  • 1/4 cup coconut flour
  • 2 teaspoons baking soda
  • ½ teaspoon salt
  • For the paleo chocolate frosting:
  • 1 (14 ounce) can coconut cream
  • 1 ½ cups dairy free chocolate chips
  • Pinch of salt

I used two baking pans, and yes the parchment paper is a must, easy to arrange the cake after and risk ripping it. To enhance it,  I used pecans and raspberries, but you can change the fruit or add valentine’s inspired candies if you wish.

Valentines 2018 (3 of 6)

  1. Making your frosting: Add the coconut cream, chocolate chips and a pinch of salt to a small pot and place over low heat. Whisk until melted. Transfer to a bowl, cover with plastic wrap and place in the fridge to harden for 6 hours or until hard. Overnight is best!
  2. Preheat oven to 350 degrees F. Line the bottom of three 9-inch round cake pans with parchment paper rounds. Spray parchment paper and side of pan with nonstick cooking spray. YOU SHOULD USE PARCHMENT PAPER or the cake is likely to stick. Please do not forget.
  3. In a large bowl, mix together the melted and cooled coconut oil, coconut sugar, eggs, vanilla and apple cider vinegar until smooth. Add almond milk and beat once more until mixture is well incorporated.
  4. In a separate bowl, whisk the almond flour, cocoa powder, coconut flour, baking soda and salt together. Add the dry ingredients to the wet ingredients and mix well. Mixture will be on the thicker side.
  5. Divide batter evenly between pans and spread out with a spatula to smooth the tops. Bake for 20-30 minutes until a tester comes out clean or with just a few crumbs attached; rotating the pans halfway through baking. Let cake cool in the pan for 15 minutes then transfer to the fridge to finish cooling completely. Allow cake to cool in the fridge for at least an hour before removing from the pan and frosting. The cake should be room temperature when you frost it. This is very important. Cake can be made a day ahead if you’d like!
  6. Finish making your frosting: Scoop the hardened chocolate coconut cream frosting mixture into a large bowl. Use a hand mixer or a KitchenAid mixer to beat frosting until peaks form and it looks nice, fluffy and creamy. Use immediately!
  7. Layer cake, using about 1/3 -½ cup frosting between each layer, then frost the top and sides with remaining frosting. Serves 12-16! Should be transferred to the fridge.

V-Day Cake

Valentines 2018 (2 of 6)

Stuffed Peppers and my New Favorite Muffins!

Healthy eating for me means color! I went on a trip to the grocery store with my dad this weekend to grab a few ingredients. I like having a few staple items in the fridge at all times for quick, healthy meals. My father turns to me to ask “what do we need?”. My reply, get anything green! What’s your favorite color to cook with?

Here is an image of the weekends cooking. I loosely used a stuffed peppers whole foods recipe I found from the Jar of Lemons Website.

Ingredients

  • 1/2 lb ground turkey
  • 1 onion
  • mushrooms
  • 1 cup spinach
  • 1/2 tsp ground pepper
  • 1/4 tsp cayenne
  • 1 tsp paprika
  • 1/2 tsp chili powder
  • 1 tsp garlic
  • 1/2 tsp cumin
  • 1/2 tsp cinnamon
  • 4 green peppers
  • handful of Pumpkin Seeds
  • handful Mozzarella

Instructions

  1. Preheat oven to 425 degrees.
  2. Cook the ground turkey.
  3. While the ground turkey is cooking, cut the peppers in halves and clean out the middle of each one.
  4. Set one pepper aside and finely chop.
  5. When the turkey is almost finished cooking, add in the spinach and finely chopped pepper or any veggies on hand.
  6. Add in the ground pepper, cayenne, paprika, chili powder, garlic, and cumin.
  7. Stuff each pepper half with the turkey mixture and top with cheese.
  8. Bake for 20 minutes (or until peppers are nearly soft).
  9. Serve hot and enjoy!

I used green peppers  and added pumpkin seeds instead of pine nuts and a dash of cinnamon to the mix. I only used half of the meat, the rest I will toss into a pasta later in the week. I also chopped up more veggies to use in weekend morning omelettes.

This is one of those recipes you can make your own. Use chickpeas, chicken, ground turkey or beef, saute some veggies, stuff and cook!

Stuffed Green Peppers

Food Feb 2018 (1 of 1)

These tumeric blueberry muffins turned out soft and not too sweet. I like to take time and arrange my foods to practice some photography skills. I copied the recipe from the Green Kitchen food blog.

Healthy Tumeric Blueberry Muffins

Food Feb 2018-3 (1 of 1)

Turmeric & Blueberry Breakfast Muffins with a Granola Topping
Makes 12 large or 15 smaller

Dry ingredients
100 g / 1 cup walnuts
85 g /1 cup rolled oats, use gluten free if intolerant
90 g / 2/3 cup buckwheat flour + 2 tbsp arrowroot (or potato starch)
1 1/2 tsp baking powder
1/2 tsp baking soda
1 tbsp turmeric (use a little less if you are not used to the flavor)
1 tsp freshly ground cardamom
½ tsp sea salt
a pinch black pepper

Wet ingredients
160 ml / 2/3 cup buttermilk or plant yogurt
80 ml / 1/3 cup olive oil or butter
2 ripe bananas, mashed
5 fresh dates, mashed
3 large eggs (or 3 tbsp chia seeds mixed with 9 tbsp water)

A large handful blueberries, frozen or fresh

Granola topping
1/3 cup rolled oats
2 tbsp olive oil/coconut oil
1 tbsp runny honey

Preheat the oven to 400°F / 200°C. Line a muffin pan with paper liners or grease the pan with oil or butter. Add walnuts and rolled oats to a food processor or blender (or mortle) and mix quickly into a coarse flour. Transfer to a large mixing bowl together with the rest of the dry ingredients. Add buttermilk, oil, bananas and dates to the food processor or blender and mix until smooth, then transfer to the mixing bowl with the dry ingredients. Crack the eggs in a separate bowl and beat them for about a minute before adding them as well. Use a spatula to carefully fold everything until combined. Divide the batter into the muffin tins, drop a bunch of blueberries on top of each muffin and gently push them down a bit. Mix together the granola crumble in a small bowl and add it on top of the muffins. Bake for about 18-20 minutes. Best enjoyed still warm from the oven.

I’d love to know, what’s your favorite healthy muffin recipe?


Veggie Lasanga

This is my second attempt at going sugar-free! Inspired by the current book I’m reading, Year of No Sugar, by Eve O. Schaub, I opted to try a new recipe. A vegetarian lasagna, both sugar-free and gluten-free, as a way to get more veggies and sharpen my culinary skills. I started out with making the veggie base, and it consisted of roasting a few vegetables in the oven, then adding a container of pumpkin puree and turning it into a puree in a Vitamix.

Tons of green veggies, ricotta, and mozzarella cheese were the main staples for this healthy meal! I found the recipe when I signed up for the 8 week, I quit sugar program.


Veggie Lasagna (2 of 14)Veggie Lasagna (3 of 14)Veggie Lasagna 3 (1 of 1)Veggie Lasagna (8 of 14)Veggie Lasagna (12 of 14)Veggie Lasagna (1 of 1)

Voila!

Veggie Lasagna 4 (1 of 1)