Baking always gives me a chance to decompress; it’s a time-out for my brain’s to-do list and instead lets me focus on the simple tasks of scooping, measuring, and mixing to the beat of chill music.
Since I love long-distance endurance training, running, biking, hiking, and cross-country skiing; therefore, I need carbs and protein to keep me going. I’m not a fan of grocery store pastries as they tend to be quite cakey or too sweet. Even good bakeries tend to overdo the sugar they use, and having a hard spike in my insulin means a crash where I’m moody and hungry. If I need the extra protein, I pair a scone with a boiled egg, and it’s an excellent base for prolonged endurance activity. I use the vanilla protein powder and the sugar substitute Monk Fruit to lower their glycemic index and make them slightly healthier. If you want the original recipe, adapted from Salley’s Baking Addiction, you can find it here.

Adapted from Salley’s Baking Addiction
Ingredients
- 1 & ½ Cups of All Purpose Flour
- ½ Cup of Vanilla Protein Powder
- ½ Cup of Monk Fruit Sugar
- ½ Teaspoon of Salt
- 2 & ½ Teaspoons of Baking Powder
- ½ Cup of Frozen Butter
- ½ Cup of Cream (and a bit extra (2 tablespoons for the top, or milk)
- 1 Large Egg
- 1 & ½ Teaspoons of Vanilla
- ½ Cup of Frozen Blueberries- (frozen is best; then they don’t get squished when mixing)
- Brown Sugar to put on top (not required, but I like it)
Directions
- Mix flour, protein powder, salt, and baking powder in a large bowl.
- Take out the frozen butter and a box grater to grate it onto a cutting board.
- Put the butter scrapes into the flour mixture and mix, then put the bowl in the fridge to keep cold.
- Use a beater or whisk to combine the cream, egg, and vanilla in a smaller bowl.
- Bring out the large bowl and pour the wet ingredient along with the blueberries into the bowl. Mix with a spoon, and then use your hands to squish it all into a ball. You may need more cream or flour here, depending on the texture.
- Once the ingredients are together, I take out a large piece of parchment paper and put the ball on a lightly floured surface. I used a rolling pin and my hand to flatten it into a disc. At this point, I usually wrap the disc in the paper with saran wrap and put it into the freezer for future use. (I typically pull the frozen disc out before a weekend road trip).
- But if you are making them right away, store the disc in the freezer and set the oven to 400F.
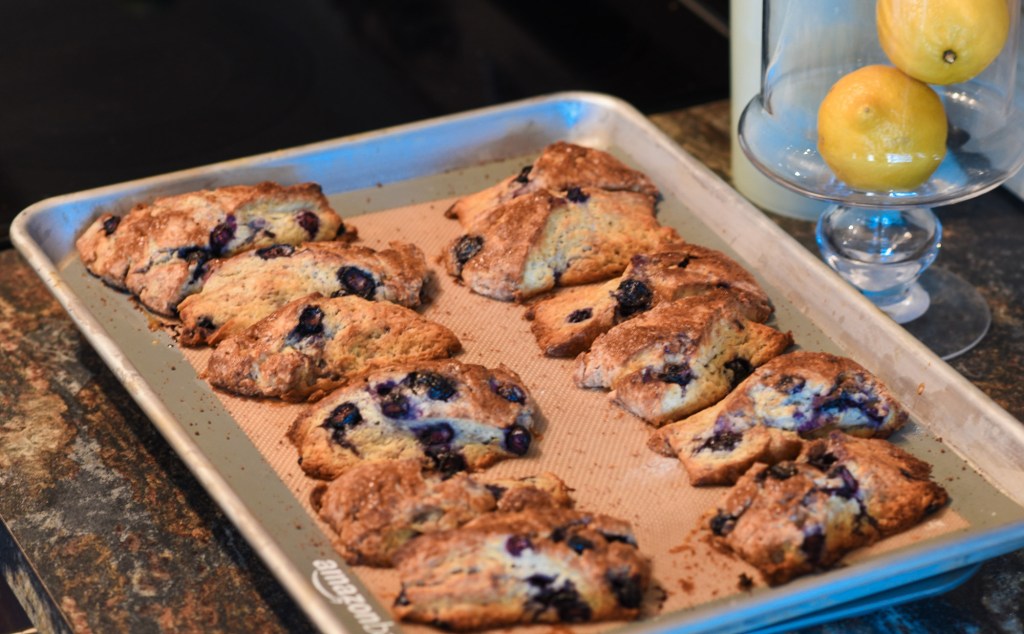
- When the oven is near temperature, take the disc out and cut it into triangles or slices. I usually cut into smaller pieces and make 12 scones, but if you prefer, you can make 6 larger ones.
- Then brush the top of the scones with cream and sprinkle with brown sugar. They take about 24 minutes in my oven, but everyone’s oven is different, so check them at 22 min and leave in longer if they are larger sections.
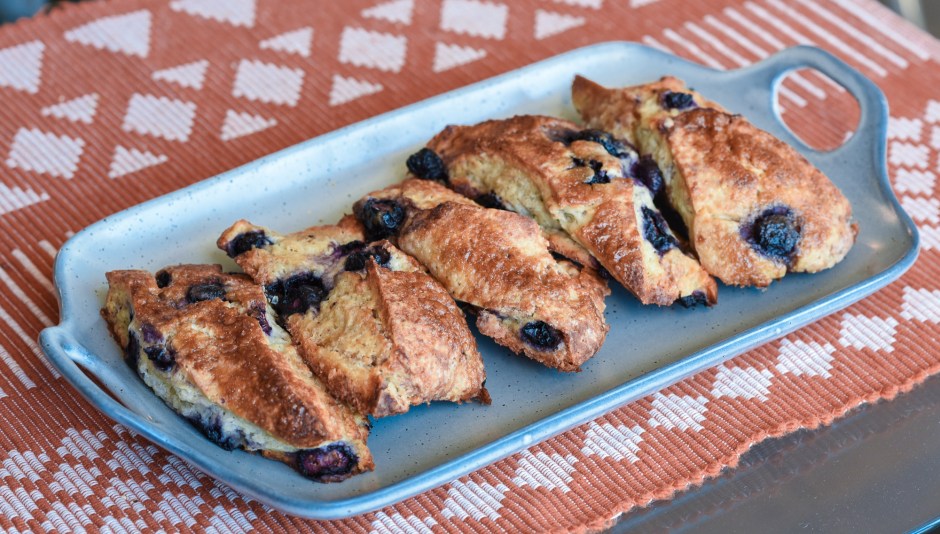
- Once they have cooled, try not to eat them all at once!
- Store them in an open bowl or empty plate. If you seal them in a plastic bag or container, they lose the dry flakey flavor and taste cakier (unless you prefer that texture).